Chimney leak repair
Chimney leak repair: practical numbers, costs, and trade-offs, written independently.
Chimney leak repair: practical numbers, costs, and trade-offs, written independently. The guide below shows the numbers and the trade-offs.
- Typical range
- Varies by system and site
- First step
- Measure the space and confirm the load
- Professional help
- Recommended for structural or electrical work
Some links on this page are affiliate links.If you buy through them we may earn a commission at no extra cost to you. We do not accept payment for rankings. Read the full disclosure.
A chimney leak is water entering the chimney where the roof, crown, cap, or masonry has failed. Diagnosis costs $150 to $800, and the repair costs $220 to $4,000 depending on which layer failed. Most leaks that homeowners blame on the flue turn out to be flashing failures at the roof line, which is why the repair should follow the water rather than the assumption.
What a chimney leak repair is
Chimney leak repair is the work of locating the point where water enters a chimney assembly and rebuilding that detail so water sheds away from the masonry instead of into it.
A chimney has five water interfaces: the cap at the top, the crown below it, the flue tile, the masonry stack, and the flashing at the roof. Water can enter at any of them. It usually enters at the lowest one that has failed and then travels sideways, which is why a stain on the ceiling below the chimney is not proof that the flashing is at fault, and a stain on the chimney breast is not proof that the crown is.
Find the entry point before you price the fix
The inspection is the whole job. A technician should look at the cap, the crown, the flashing, and the flue, then test the flashing with a hose from the roof while someone watches inside. That test costs nothing beyond the visit and it separates a $220 flashing repair from a $4,000 liner.
Ask for the finding in writing: where the water entered, what failed, and what the repair changes.
The five entry points, and what each repair costs
| Entry point | What failure looks like | Repair | Typical cost |
|---|---|---|---|
| Cap | Missing, rusted, or loose cap | New cap with mesh | $150–$600 |
| Crown | Cracked or spalled concrete top | Crown repair or rebuild | $400–$1,500 |
| Flashing | Lifted metal, cracked sealant, rust streaks | Flashing rebuild | $220–$600 |
| Flue tile | Cracked or missing tiles, no liner | Stainless liner | $1,500–$4,000 |
| Masonry | Open joints, spalling brick, efflorescence | Repoint or rebuild | $400–$15,000 |
A cap that has lost its mesh lets rain straight down the flue, and a flashing that has lifted lets water run behind the step flashing and into the attic.
Flashing vs crown: which one is leaking
Flashing leaks show up low. The stain appears on the ceiling near the chimney, on the chimney breast in the attic, or on the framing around the chase, and it gets worse during wind-driven rain rather than steady rain.
Crown leaks show up high and spread down. Water enters the top of the stack, soaks the masonry, and shows as efflorescence or a damp patch partway down the chimney. In winter, a crown leak produces spalled brick faces just below the roofline, because the water freezes in the brick.
The hose test settles it. Water on the roof at the flashing that appears inside within minutes is a flashing leak. Water poured on the crown that appears hours later, or only after a freeze, is a crown leak.
What the repair costs, with arithmetic
The planning figures for this work are a sweep at $150 to $400, an inspection at $150 to $800, a cap at $150 to $600, crown repair at $400 to $1,500, a stainless liner at $1,500 to $4,000, and a partial rebuild at $5,000 to $15,000.
A flashing repair is smaller than any of those. Labor at $150 to $400 plus material at $50 to $150 plus sealant and supplies at $20 to $50 gives a range of ($150 + $50 + $20) = $220 to ($400 + $150 + $50) = $600.
Stack the midpoints for a typical leak that needs a cap and a crown patch. The cap midpoint is ($150 + $600) ÷ 2 = $375. The crown midpoint is ($400 + $1,500) ÷ 2 = $950. The inspection midpoint is ($150 + $800) ÷ 2 = $475. Total: $375 + $950 + $475 = $1,800.
If the leak has been running long enough to ruin the flue, add a liner at the midpoint of ($1,500 + $4,000) ÷ 2 = $2,750, which takes the same job to $1,800 + $2,750 = $4,550. That is why the hose test is worth doing before anyone orders material.
Why sealing is not repairing
Caulk is the most common thing sold as a chimney leak repair, and it is the least durable. Sealant bonds to the surface it is applied to, and masonry expands, contracts, and sheds its surface in freeze-thaw cycles. A bead of caulk over a lifted flashing edge will hold for one season and fail in the next.
The same applies to brush-on masonry sealer. A sealer can slow absorption through sound brick, but it cannot close a crack in a crown or replace a missing cap. On a chimney with an active entry point, sealer traps water inside the masonry and pushes the damage deeper.
Metal is the repair. Step flashing, counterflashing, a new crown, and a cap all work because they direct water rather than absorb it. If a quote is mostly sealant, it is maintenance, and it should be priced like maintenance.
How to run the diagnosis in order
- Look at the cap from the ground with binoculars. A missing cap or a cap with no mesh is the first thing to rule out.
- Look at the crown. A crack wider than a hairline, or a crown that has pulled away from the flue tile, is a finding.
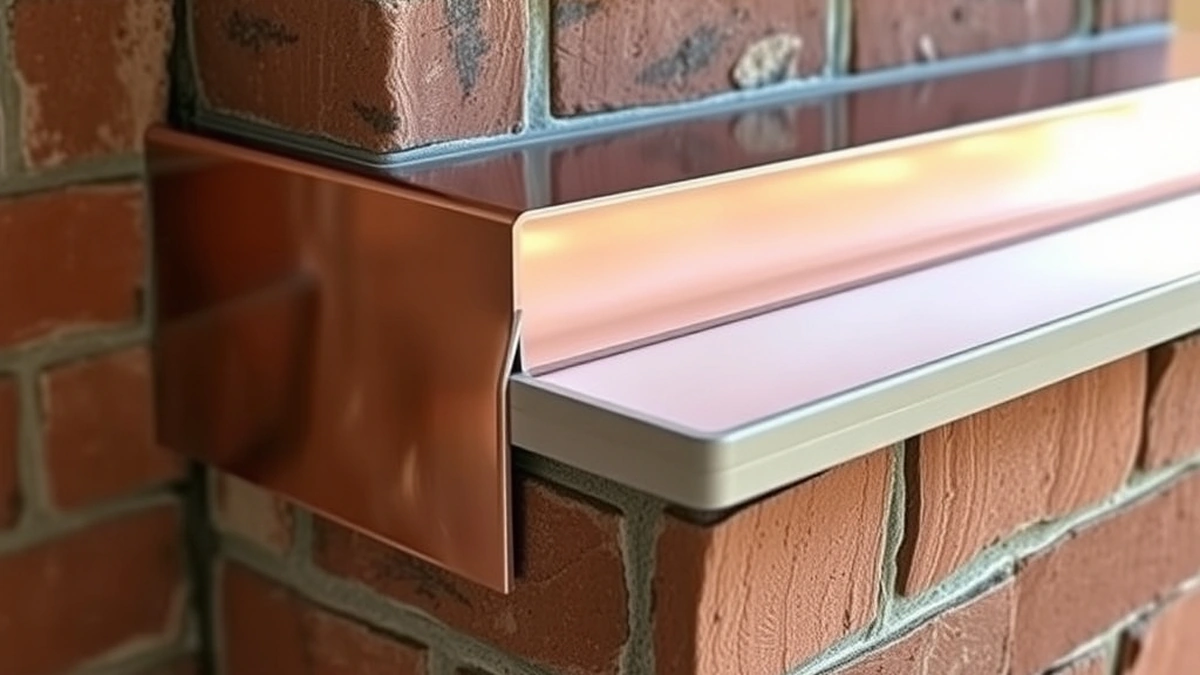
- Look at the flashing at the roof line. Lifted metal, rust streaks on the masonry, and cracked sealant all point here.
- Run the hose test at the flashing, then at the crown, watching inside for each.
- Have the flue video-inspected if the leak has been active for more than one season. Water that has been entering for years usually reaches the tile.
- Get the finding and the scope in writing before anyone orders a liner.
What to do when the leak will not stop
A leak that survives a new cap, a rebuilt crown, and new flashing is usually not coming from the chimney at all. It can be a roof defect uphill of the chimney, a failed chase cover on a factory-built unit, or condensation from a flue that is oversized and running too cool. Condensation looks like a leak and behaves like one, but the fix is a correctly sized liner, not more metal on the roof.
That is the point at which the flue needs to be assessed as a system rather than patched as a hole. A qualified technician should size the liner to the appliance and confirm the venting arrangement; that is not a decision to make from a ladder.
For the flashing detail itself, see chimney flashing repair. For crown pricing, see chimney crown repair cost. For caps, see chimney cap installation, and for the wider repair menu, see chimney repair.
Frequently asked questions
What is the most important measurement?
Start with the ceiling or clearance number; it decides which systems can fit.
What does a typical project cost?
Costs vary by system and site access; the guide shows the line items and a planning range.
Can I install this myself?
Some tasks are DIY-friendly, but structural, electrical, and load-bearing work should be done by a licensed professional.
How long does installation take?
A simple setup is a weekend; a full build with electrical or structural work can take several weeks.
What should I check before buying?
Confirm dimensions, load ratings, and the manufacturer's installation requirements for your exact model.
Where can I find local help?
Ask a licensed contractor or installer who has worked with the same system and can inspect your site.
Sources
Some links are affiliate links.If you buy through them we may earn a commission at no extra cost to you. We do not accept payment for rankings. Read the full disclosure.