Cast-in-place liner installation: the process in order
How cast-in-place chimney liner installation works, from flue cleaning and forming to the pour, cure, and camera inspection, with the failure points named.
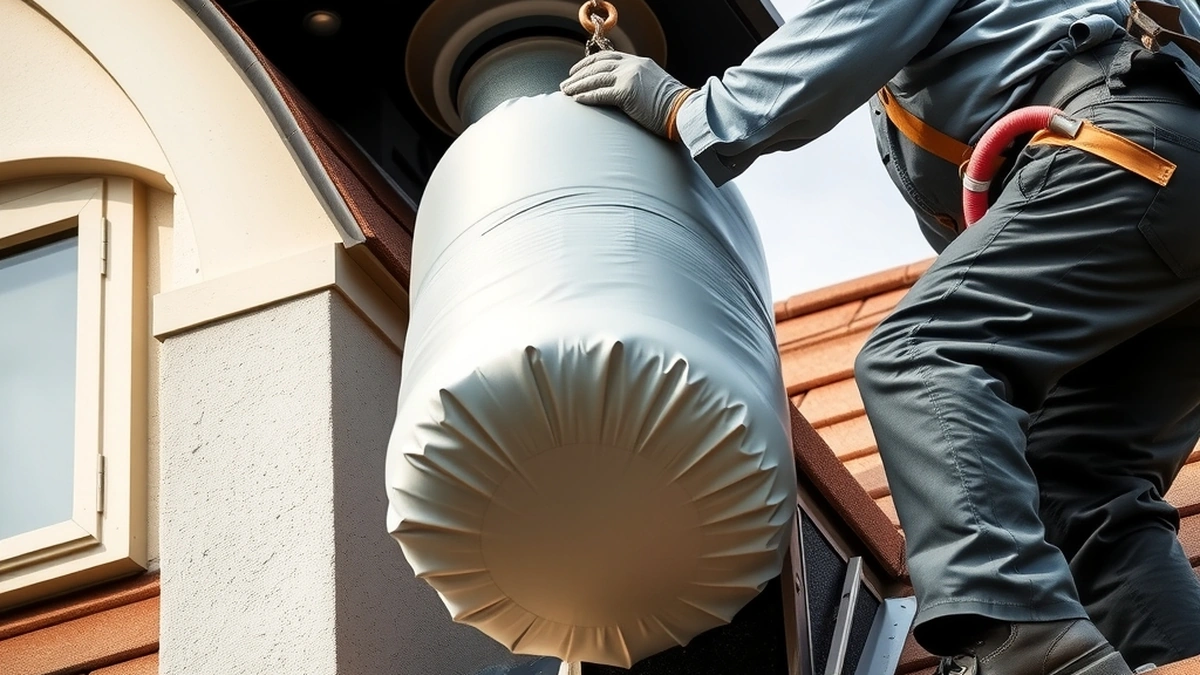
Cast-in-place liner installation cleans the flue, lowers a form sized to the appliance, pumps refractory material into the gap, cures it, then pulls the form and inspects the new bore by camera. Most jobs take one to three days plus cure time.
- Typical duration
- 1–3 days plus cure
- Cure before use
- 24–72 hours
- Pre-job sweep
- $150–$400
- Per-foot cost
- $100–$250
Some links on this page are affiliate links.If you buy through them we may earn a commission at no extra cost to you. We do not accept payment for rankings. Read the full disclosure.
Cast-in-place liner installation is a forming job, not a coating job. The crew cleans the flue, positions a form at the diameter the appliance needs, pumps a refractory mix into the space between form and masonry, and lets it set. When the form comes out, the chimney has a new seamless bore. Most residential installations take one to three days on site, plus a cure period before the appliance can burn again.
What the finished liner is
A cast-in-place liner is a refractory lining formed in place inside an existing chimney flue, bonded to the old masonry and left with a smooth round bore. It is poured or pumped as a wet mix and cured in position, which is what separates it from a stainless liner that is manufactured elsewhere and slid in.
The material is usually a calcium aluminate or portland-based refractory blend with aggregate. Thickness typically runs from half an inch to two inches depending on the system and the appliance. That thickness is the insulation, and it is the part a low bid trims first.
The installation sequence
- Inspect and document. A Level 1 or Level 2 inspection records flue dimensions, offsets, cracks, and blockages. Cost: $150–$800.
- Sweep the flue. Creosote and soot must come out before anything bonds. A sweep runs $150–$400.
- Isolate the appliance. Disconnect the connector pipe, seal the bottom, and protect the firebox and floor.
- Size and set the form. The form diameter is chosen from the appliance collar and the required flue area, then lowered from the top and centered.
- Mix and pump. The refractory is mixed to the manufacturer’s water ratio and pumped from the bottom up in one continuous operation where possible.
- Cure and strip. The form stays in place through initial set, then is pulled. Full cure takes 24–72 hours.
- Inspect and reconnect. A camera scan confirms the bore, then the connector, cap, and crown are finished.
Prep work that decides the outcome
Two prep steps separate a liner that lasts from one that cracks in the first winter. The first is cleaning. A flue with residual creosote will not bond, and the lining can delaminate in sheets. The second is repairing the masonry shell before the pour. If the chimney has open joints or spalled brick, the mix finds those voids and drains into them instead of filling the annular space around the form.
That is why a partial rebuild at $5,000–$15,000 sometimes precedes the lining. It is cheaper to fix the shell first than to pour twice.
Access is not a prep step, but it is the other thing that moves the invoice. A chimney on a steep pitch, behind a skylight, or boxed in by a roof valley slows every step: the form has to be handled from above, the hose run is longer, and the crew spends more time on fall protection. None of that shows in a per-foot rate quoted over the phone, and all of it shows in the invoice.
The pour and the form
Pumping is usually done from the bottom through a hose, so the material rises evenly and pushes air ahead of it. Pouring from the top traps air pockets against the form and leaves voids that only a camera finds later.
Form type matters. Inflatable forms produce a round bore and are pulled after set. Rigid sectional forms produce a very consistent diameter but need more setup time. Both require the form to be centered; an off-center form leaves a thin wall on one side, and that thin side is where the first crack appears.
| Stage | What goes wrong | How it shows up |
|---|---|---|
| Cleaning | Creosote left on the masonry | Lining delaminates in sheets |
| Form setting | Form off center | Thin wall, vertical crack |
| Mixing | Too much water | Weak, porous lining, surface dusting |
| Pumping | Air pockets | Voids behind the bore |
| Curing | Dried too fast | Shrinkage cracks at the top |
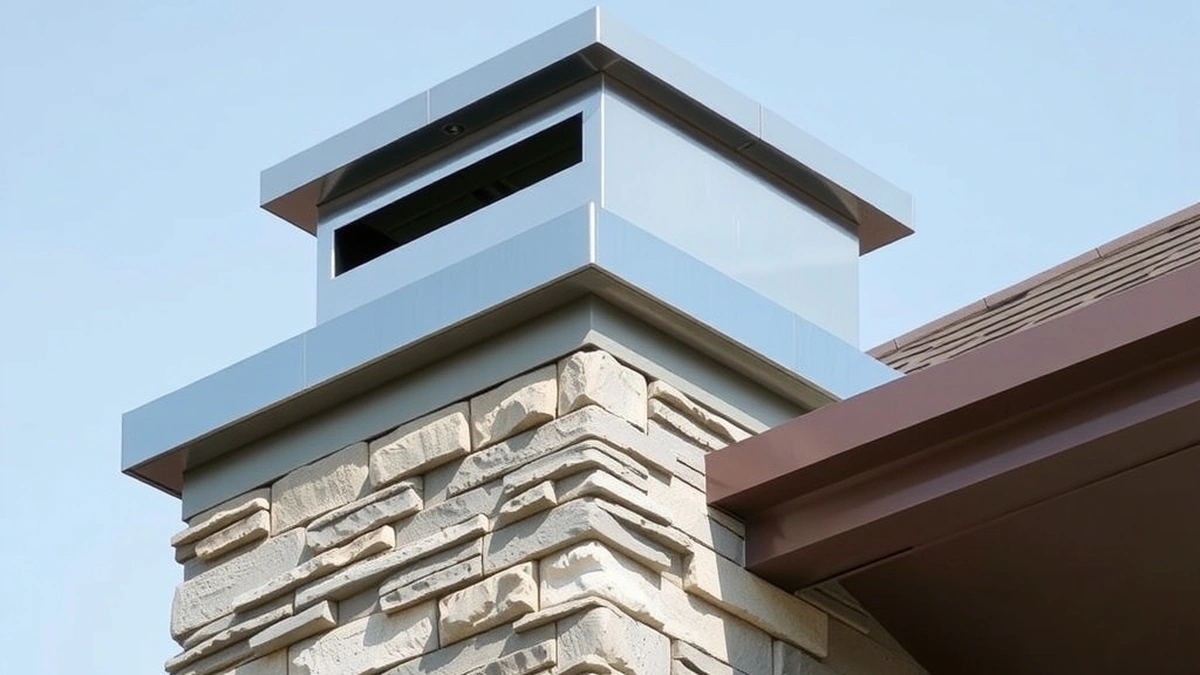
| Termination | Cap omitted | Water intrusion, freeze damage |
Cure time and return to service
Cure is not a formality. The mix reaches handling strength in a day but reaches its rated strength over several days, and a fire built too early drives moisture out fast enough to crack the lining. Plan on 24–72 hours minimum, and longer in cold weather, when the material may need supplemental heat.
Ask the installer what cure schedule the manufacturer specifies for the mix being used, and get it in writing. “Next day” is a red flag on a refractory product.
Inspection after the job
The closeout should include a camera scan of the full bore, a check of the appliance connection for a smooth transition, and confirmation that the crown and cap are watertight. Crown repair runs $400–$1,500 and a cap runs $150–$600; both belong in the same scope because the liner is only as dry as the top of the chimney.
Keep the video. If a draft problem appears later, the scan tells you whether the bore changed or the appliance is the issue.
What the work costs
Installation is priced by the linear foot, generally $100–$250 installed, so a 25-foot flue lands between $2,500 and $6,250. That sits above a stainless reline at $1,500–$4,000 because of setup and cure time. The full breakdown is in cast-in-place liner cost.
Before committing, read cast-in-place liner problems for the failure modes above in more detail, and compare the alternative in stainless steel chimney liner. Budgeting the annual sweep at chimney sweep cost is part of owning the liner, not an optional extra.
Frequently asked questions
How long does cast-in-place liner installation take?
Most residential jobs run one to three days on site, then 24 to 72 hours of cure before the appliance is returned to service. Cold or damp weather extends the cure.
Does the flue need to be cleaned first?
Yes, and it is not optional. Creosote, soot, and loose mortar prevent the lining from bonding to the masonry and can contaminate the mix. A sweep runs $150–$400 on its own.
How much does the new liner reduce the flue size?
Typically about one inch of diameter, sometimes more on an irregular flue. That reduction is why the appliance collar and the required flue area must be checked before the form is sized.
Can the appliance be used during the cure?
No. The lining must reach its specified strength before flue gases touch it. Plan on two to three days without the appliance, longer in cold weather.
Is a camera inspection required afterward?
It should be. A post-installation camera scan confirms the bore is round, continuous, and free of voids or debris. Ask for the video, not just a verbal confirmation.
Does cast-in-place work require a permit?
Requirements vary by jurisdiction, but relining is commonly permitted work. Ask who pulls the permit and who meets the inspector before the crew starts.
Sources
Some links are affiliate links.If you buy through them we may earn a commission at no extra cost to you. We do not accept payment for rankings. Read the full disclosure.