Chimney cap installation: fit, method, and cost
How a chimney cap is sized, mounted, and sealed, with the five mounting styles, the tools involved, and why the $150 to $600 installed price varies so much.
Chimney cap installation means measuring the flue or crown, choosing a top-mount, multi-flue, outside-mount, or slip-in cap, centering it, fastening it with stainless screws, and sealing the base. Installed cost runs $150 to $600.
- Installed cost
- $150–$600
- Common mesh size
- 1/2 inch to 3/4 inch
- Cap life, stainless
- 15–25 years
- Crown repair
- $400–$1,500
Some links on this page are affiliate links.If you buy through them we may earn a commission at no extra cost to you. We do not accept payment for rankings. Read the full disclosure.
Installing a chimney cap takes about twenty minutes of work and a measurement you got right the first time. Measure the flue or crown, pick a mounting style, center the cap, drive four stainless screws, and seal the base. Installed, that runs $150 to $600.
Most of the price is not the cap. It is roof access, the number of flues, the material, and whether the crown is sound enough to mount to.
What a chimney cap installation involves
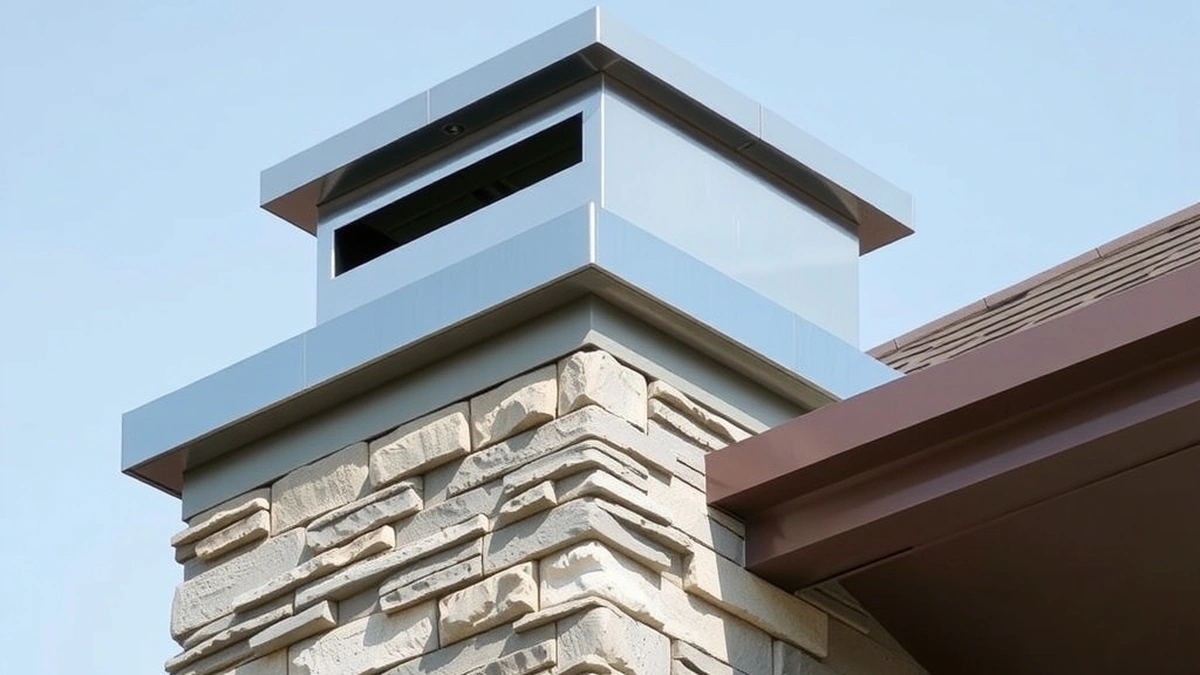
Chimney cap installation is the fitting of a metal cover and spark screen over the flue opening, secured to the flue tile, the crown, or the outside of the stack depending on the mounting style. The cap does three jobs: shed rain away from the flue, keep animals and debris out, and contain embers.
Everything else, including the choice of material and the exact fastening method, follows from those three jobs and from the condition of what the cap mounts to.
The four mounting styles
| Style | Mounts to | Best for | Watch out for |
|---|---|---|---|
| Top-mount, single flue | Flue tile or a collar around it | One round or square tile | Needs a sound tile edge to grip |
| Multi-flue | Crown, with a screen per flue | Two or more flues on one stack | Larger, heavier, harder to lift |
| Outside-mount | Outer face of the stack | Cracked crowns, uneven tiles | Wind loading on a tall cap |
| Slip-in | Inside the flue tile | Quick retrofits | Can shift; not for animals |
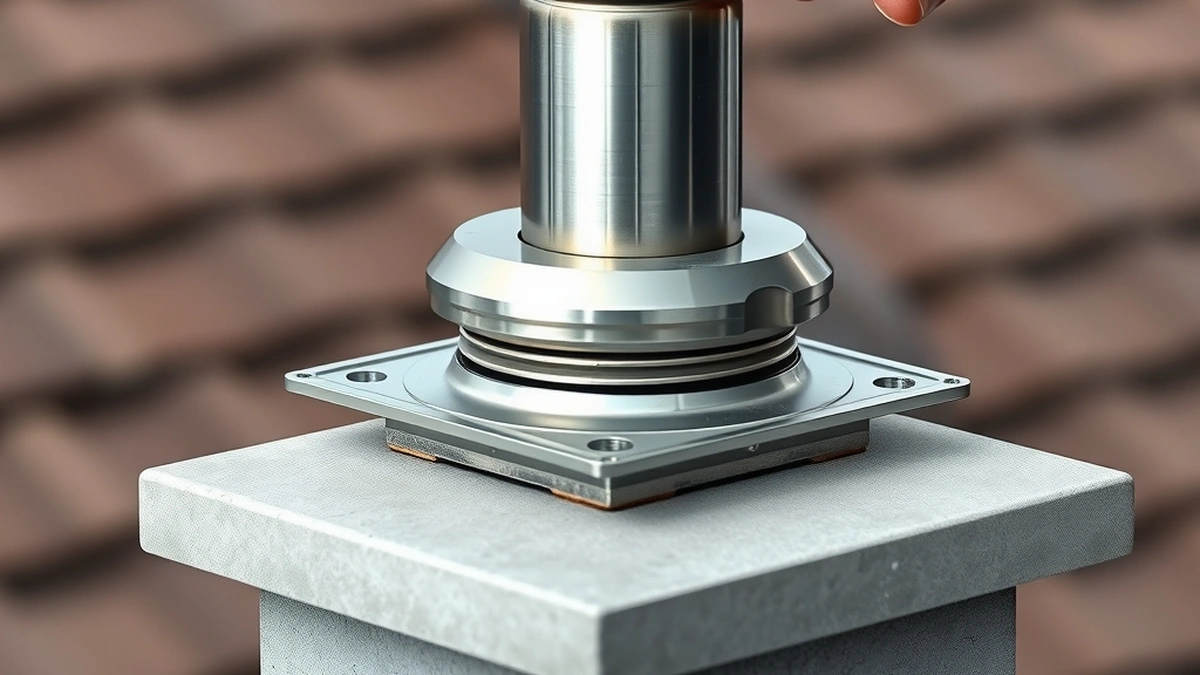
Top-mount is the default for a single flue on a sound crown. It slips over the tile and tightens with a band or screws into the tile with stainless lag screws. Multi-flue caps are the right answer on a chimney with two or three flues, because one cap covers them all and the screens sit over each opening.
Outside-mount caps exist for the case where there is nothing sound to mount to. They wrap the top of the stack and cover the whole crown, which lets you install one over a cracked crown without repairing it first. That is a legitimate choice, but it is a cover over a problem, not a fix.
Sizing, in inches
Measure the flue tile first if it projects above the crown. You need the outside width and depth for a square or rectangular tile, or the outside diameter for a round liner. Common sizes are 8x8, 8x12, 12x12, and 13x13 inches for tile, and 6-inch or 8-inch for round stainless liners.
If the tile is flush with the crown, measure the crown opening instead, then add the cap’s mounting collar clearance. A cap that is a quarter inch too small will not seat; a cap an inch too large will wobble in wind and let rain in around the base.
Mesh size is the other specification worth naming. A 1/2-inch opening stops most birds and animals while passing smoke, and 3/4-inch is used where draft is marginal. Some jurisdictions and appliance manuals specify a spark arrestor, which is a different standard than a bug screen.
The installation sequence
- Confirm the roof is safe to work on and the ladder is footed and tied. Fall protection is required at 6 feet and above in construction work, and a wet or mossy roof ends the job before it starts.
- Clean the top of the crown and the flue tile. Remove old sealant, loose mortar, and any nest material. The cap needs a flat surface to sit on.
- Check the flue tile for cracks at the top three courses. If the tile is cracked, a cap will hide the crack and trap moisture, so deal with the tile first.
- Set the cap in place and check it sits level with even clearance on all sides. Do not force a cap that binds; that is the wrong size.
- Fasten with stainless steel screws through the mounting collar, or through the pre-drilled holes into the tile. Two screws on opposite sides minimum, four preferred. Never use drywall screws.
- Seal the joint between the cap base and the tile or crown with a high-temperature silicone rated for exterior masonry. Keep the sealant off the mesh.
- Check the screen is fully seated and the whole assembly does not rock. Then look down the flue with a light to confirm no debris fell in during the work.
What it costs, with the arithmetic
The installed price is $150 to $600 for a single flue. Two flues are two caps, or one multi-flue cap, which usually lands closer to a single cap plus a premium: 2 × $150 = $300 at the low end, and 2 × $600 = $1,200 at the high end for two separately fitted caps.
Spread that over the life of a stainless cap: $150 ÷ 20 years = $7.50 a year, and $600 ÷ 20 years = $30 a year. For comparison, a crown repair starts at $400 and runs to $1,500, and a partial rebuild is $5,000 to $15,000. The cap is the cheapest insurance on the building.
Pair it with the annual visit and the whole maintenance line is $450 to $1,800: a sweep at $150 to $400 plus an inspection at $150 to $800 plus a cap at $150 to $600 in the first year only.
Where installations go wrong
Mounting on a failed crown. A top-mount cap screwed into a crumbling crown will be loose within a season. If the crown is cracked, repair it at $400 to $1,500 or use an outside-mount cap that covers it.
Wrong mesh for the appliance. A fine bug screen on an oil or wood appliance clogs with soot in weeks and strangles the draft. Match open area to the appliance manual.
Cap sitting too low. If the cap’s underside is close to the flue opening, the exhaust has nowhere to go and the appliance spills smoke on startup. Look for at least a few inches of clearance above the tile.
Galvanized fasteners. The cap body survives, the screws rust through, and the cap blows off in the first big storm. Stainless fasteners cost almost nothing more.
Ignoring the chimney after install. A cap with a clogged screen is worse than no cap, because it restricts draft while looking fine from the ground. Check it at the annual service.
For the cap styles and material comparisons in more depth, see chimney cap with mesh screen. For the crown work that often goes with a cap, see chimney crown repair cost. For the surrounding leak diagnostics, see chimney leak repair.
Frequently asked questions
How much does chimney cap installation cost?
Between $150 and $600 installed for a single flue. Multi-flue caps, copper, and difficult roof access push toward the top of that range, and a second flue adds a second cap.
Can I install a chimney cap myself?
Yes, on a walkable roof with a sound crown. The work is measuring, centering, driving four stainless screws, and sealing the base. The risk is the roof, not the task.
What size chimney cap do I need?
Measure the outside dimensions of the flue tile if it projects above the crown, or the crown opening if the tile is flush. Add clearance for the mounting collar, and match the cap to the flue shape.
Should I use a top-mount or an outside-mount cap?
Top-mount for a sound crown with a projecting or flush flue tile. Outside-mount when the crown is damaged, the flue tiles are uneven, or you need to cover the whole top of the stack.
Does a chimney cap hurt draft?
A clean cap with adequate open area has little effect. A clogged mesh, a cap that is too low over the flue, or a model with insufficient free area can reduce draft noticeably.
How long does a chimney cap last?
A stainless steel cap commonly lasts 15 to 25 years, galvanized steel 5 to 10, and copper 30 or more. Fasteners and welds usually fail before the body does.
Sources
Some links are affiliate links.If you buy through them we may earn a commission at no extra cost to you. We do not accept payment for rankings. Read the full disclosure.