Chimney flashing repair: stop the leak at the roof
Most chimney leaks start at the flashing, not the flue. How the four flashing pieces work, why caulk fails, and what a proper repair rebuilds instead of smears.
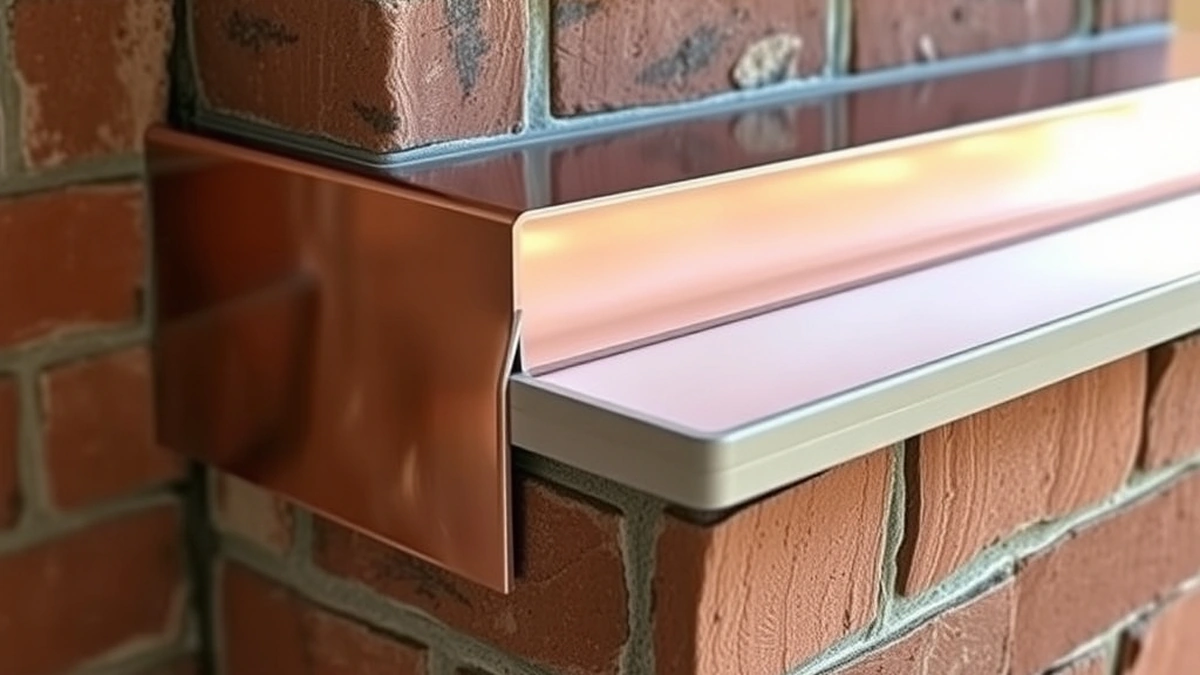
Chimney flashing repair means rebuilding the metal joint where the stack passes through the roof: apron, step, counter flashing, and a cricket on the uphill side. Caulk over a failed joint is a stopgap, not a repair.
- Leak source, most common
- Flashing joint
- Inspection
- $150–$800
- Crown repair
- $400–$1,500
- Partial rebuild
- $5,000–$15,000
Some links on this page are affiliate links.If you buy through them we may earn a commission at no extra cost to you. We do not accept payment for rankings. Read the full disclosure.
Most chimney leaks that homeowners blame on the flue start at the roof line. Chimney flashing repair means rebuilding the metal joint where the stack passes through the shingles, and doing it in a way that sheds water instead of trapping it.
The repair is not complicated. It is also not the thing most people get sold, which is sealant smeared over a joint that has already failed.
What flashing is
Flashing is the system of metal pieces that seals the intersection between a chimney and a roof, directing water onto the shingles rather than into the structure. It is not one piece. It is four, and each handles a different side of the stack.
Because the roof and the stack meet at different angles on each side, the flashing changes form around the chimney. Done badly, water finds the seam within a season.
The four pieces
| Piece | Where it sits | What it does | Common failure |
|---|---|---|---|
| Apron flashing | Downhill face | Sheds water onto the shingles below | Lifted edge, nail holes |
| Step flashing | Both sloped sides | Interleaves with each shingle course | Pulled out of the mortar chase |
| Counter flashing | Over the step flashing, set into the masonry | Covers the top of the step flashing | Sealant joint fails at the mortar |
| Cricket or backer | Uphill face | Diverts water around the stack | Missing entirely on wide chimneys |
The piece that fails most often is the counter flashing joint. It is set into a reglet, a groove cut into the mortar joint, and sealed. Mortar moves, metal does not, and the sealant bond breaks. Once water gets behind the counter flashing, it runs down the step flashing and into the roof deck, where it shows up as a ceiling stain several feet from the chimney.
Crickets deserve their own mention. On a chimney wider than roughly 30 inches measured parallel to the ridge, water running down the roof hits a wall rather than a corner. A cricket is a small peaked roof that splits the flow around the stack. Chimneys without one, especially wide ones, leak at the uphill corner no matter how good the flashing is.
Why caulk is not a repair
Sealant over a failed counter flashing joint does one thing well: it hides the failure from the next inspector. It cannot restore a mechanical joint, it cracks within a heating and cooling cycle or two, and it traps water behind itself where the masonry cannot dry.
There is a legitimate use for sealant: sealing the top edge of a new counter flashing that has been properly set into a reglet. That is a belt-and-braces measure on a correct installation, not a substitute for one.
Resealing versus rebuilding
| Approach | What it does | Life expectancy | When it is appropriate |
|---|---|---|---|
| Caulk the joint | Seals the visible gap | One season, often less | Emergency before a storm |
| Surface patch with flashing cement | Covers lifted metal | One to three years | Temporary, before a scheduled rebuild |
| Rebuild counter flashing into a new reglet | Restores the mechanical joint | 20+ years with copper | Standard repair |
| Replace all four pieces and add a cricket | Rebuilds the whole intersection | 20+ years | Chronic leaks, missing cricket, rotted deck |
The price gap between the second row and the third is labor, not material. That is why quotes for “flashing repair” can differ by a factor of three for what sounds like the same job: one quote is the patch, the other is the rebuild. Ask which one you are buying.
What a proper repair involves
- Diagnose from inside and outside. Look for water staining on the roof deck and rafters near the stack, and check whether the leak appears only on wind-driven rain from one direction.
- Remove the old counter flashing and cut a clean reglet in a sound mortar joint, roughly 1 inch deep, if the existing joint is crumbling.
- Replace the step flashing course by course, lifting shingles as you go rather than sliding new metal under them. Each step piece should overlap the one below by at least 2 inches.
- Set the new counter flashing into the reglet and seal the top edge with a polyurethane or high-temperature silicone sealant, not silicone caulk alone.
- Add a cricket on the uphill side if the chimney is wide or if water has been pooling at the back corner.
- Inspect the deck sheathing while it is open. Soft or stained sheathing means the leak has been running for years and the repair is now a carpentry job as well.
What ignoring it costs
There is no stable national price for flashing repair, because the job is quoted per joint and the scope varies from a single side to all four plus a cricket. What is stable is the cost of the damage on the other side of the decision.
A leak that saturates the crown leads to crown repair at $400 to $1,500. A leak that keeps running through freeze-thaw cycles spalls the brick faces and eventually requires a partial rebuild at $5,000 to $15,000, plus a liner at $1,500 to $4,000 if the flue was saturated long enough to damage the joints, for a total of $6,500 to $19,000 before interior repairs.
Compare that with the annual maintenance line: a sweep at $150 to $400 and an inspection at $150 to $800, or $300 to $1,200 for both. An inspector on the roof looking at the flashing costs less than one interior repair.
Diagnosing before you call
Three checks tell you a lot from the ground.
First, note when the leak appears. Water only during long, wind-driven rain from one direction points to flashing on that side. Water after every rain, appearing in the firebox, points to the crown or the flue top.
Second, look at the masonry below the roofline for rust streaks. Rust stains on brick under the flashing line mean the metal has been wet and the joint is open.
Third, look at the ceiling stain pattern. A stain that spreads along the chimney chase and appears at the ceiling-wall junction is nearly always roof-level water, not flue condensation.
For the full leak differential, see chimney leak repair. For the related waterproofing question of where masonry joints fail, see tuckpointing vs flashing repair and flashing repair and installation. If the crown is part of the problem, chimney crown repair cost covers that scope.
Hiring the right scope
Ask for the quote in writing with the metal specified by material and gauge, and the number of sides named. A quote that says “reseal flashing” is the patch. A quote that says “replace counter flashing on two sides, cut new reglet, replace step flashing, seal” is the repair.
Then ask whether the roofer or the chimney company is doing the work. Chimney companies own the masonry side; roofers own the shingle side. On a flashing rebuild you want both skills on the same crew, or two contractors who have worked together, because the failure mode of a split job is a joint that neither will warrant.
Frequently asked questions
How do I know if my chimney leak is flashing or the flue?
Water that appears at the ceiling near the chimney, or stains on the masonry below the roofline, usually points to flashing. Water inside the firebox after rain points to the crown, the flue top, or a missing cap.
Can flashing be repaired with caulk?
Caulk can seal a small lifted edge for a season. It cannot restore a joint where the metal has pulled out of the mortar chase, and smearing sealant over a failed step flashing hides the problem without fixing it.
What is a chimney cricket?
A small peaked roof built on the uphill side of a chimney wider than about 30 inches, to divert water around the stack instead of letting it pool against the flashing.
What material should chimney flashing be?
Copper or lead-coated copper lasts longest and is easiest to form into the mortar joint. Aluminum and galvanized steel are cheaper and shorter lived, especially near the coast.
Does flashing repair require removing shingles?
A proper repair usually lifts the shingles along the chimney sides to replace the step flashing. A cosmetic repair does not, which is why it is cheaper and why it fails again.
How much does water damage cost if flashing is ignored?
Crown repair runs $400 to $1,500 and a partial rebuild $5,000 to $15,000, before interior repairs. A reline, often needed after long saturation, adds $1,500 to $4,000.
Sources
Some links are affiliate links.If you buy through them we may earn a commission at no extra cost to you. We do not accept payment for rankings. Read the full disclosure.