Chimney Liner for Wood Stove: Code, Materials, and Cost
Code requirements, costs, and materials for installing a chimney liner on a wood stove flue.
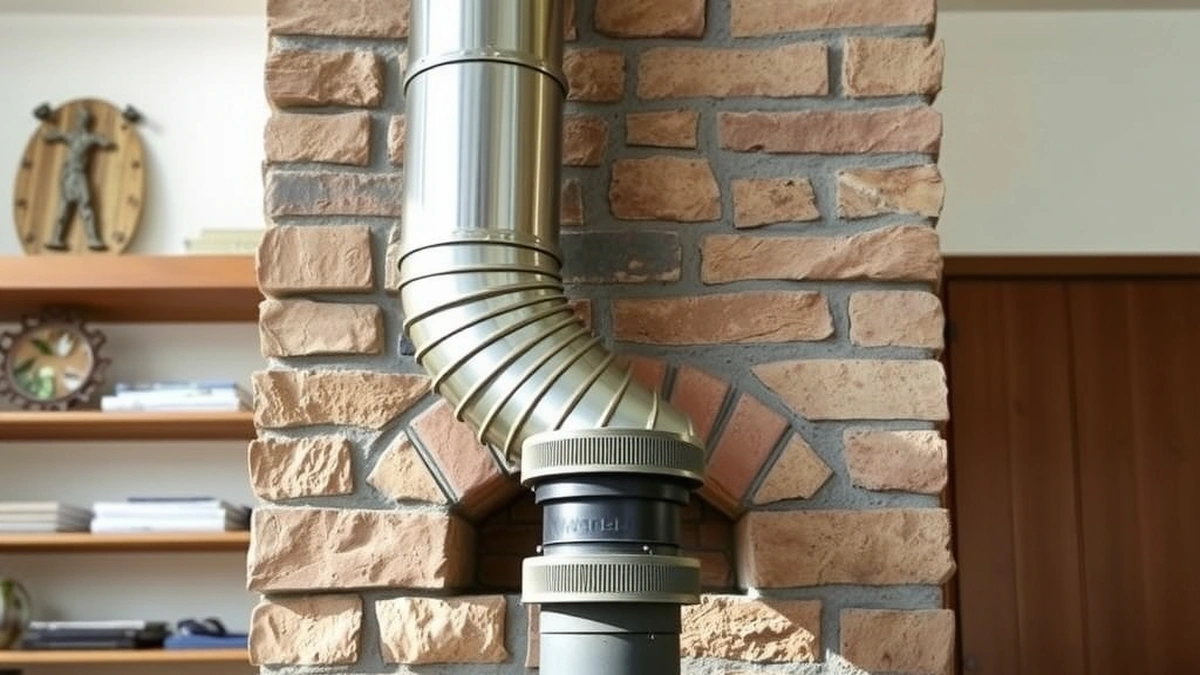
A wood stove needs a listed stainless steel liner sized to the appliance flue collar, typically 6 inches, installed per NFPA 211 and manufacturer instructions.
- Typical liner material
- 316L or 304 stainless steel
- Common flue diameter
- 6 inches
- Liner cost range (USD)
- 1,500-4,000
- Chimney sweep cost range (USD)
- 150-400
- Inspection cost range (USD)
- 150-800
Some links on this page are affiliate links.If you buy through them we may earn a commission at no extra cost to you. We do not accept payment for rankings. Read the full disclosure.
A wood stove needs a listed chimney liner that matches the appliance flue collar and runs the full height of the flue. The liner contains flue gases, protects the masonry from heat and corrosive byproducts, and helps maintain the draft the stove needs to operate safely. This guide covers code basics, liner materials, sizing, cost estimates, and what to expect during installation.
Why a Wood Stove Needs a Liner
Wood stoves produce high flue gas temperatures and creosote-laden smoke. An unlined or deteriorated masonry chimney can allow heat to transfer to nearby combustible materials and let moisture attack the mortar joints. A listed stainless steel liner creates a continuous, sealed pathway from the stove collar to the chimney top, which reduces the risk of chimney fires and carbon monoxide leaks.
Building codes and manufacturer instructions generally require the liner to be sized to the appliance outlet, not the existing chimney. If your stove has a 6-inch flue collar, the liner should typically be 6 inches in diameter throughout its run. Downsizing or upsizing without engineering guidance can hurt draft and increase creosote buildup.
Code and Safety Basics
NFPA 211 is the primary reference for solid fuel-burning appliances and chimneys in the United States. It addresses clearance to combustibles, liner listing, termination height, and connection methods. Local jurisdictions often adopt NFPA 211 through the International Residential Code, so requirements can vary by city or county. The EPA’s Burn Wise program also provides guidance on proper wood burning and chimney maintenance, though it is not an installation code.
Key installation points include:
- The liner must be listed for solid fuel appliances.
- Joints must be sealed according to the liner manufacturer’s instructions.
- Clearance to combustibles must be maintained around the chimney and connector pipe.
- The chimney termination must meet height requirements relative to the roof ridge and nearby structures.
A Level 1 or Level 3 chimney inspection is often recommended before liner installation to assess the condition of the existing masonry, crown, and flue. Inspection costs typically range from 150 to 800 USD depending on scope and accessibility.
Liner Materials and Types
Stainless steel is the standard material for wood stove chimney liners. Two common grades are 316L and 304. 316L offers better corrosion resistance, which matters when burning wood that produces acidic condensates. Flexible stainless steel liners are common for relining existing masonry chimneys because they can navigate offsets and bends. Rigid stainless steel pipe is typically used for new chimney systems or straight runs.
Aluminum liners are not suitable for wood stoves. They are listed for certain gas appliances only and cannot withstand the temperatures and byproducts of wood combustion. Clay tile liners exist in older masonry chimneys, but cracked or missing tiles usually mean the flue needs a stainless steel liner rather than repair with new tile.
Sizing the Liner
Liner diameter should match the wood stove’s flue collar outlet. Six inches is common for many residential wood stoves, but some appliances use 5, 7, or 8 inches. The appliance manual is the controlling document. If the stove collar is 6 inches, a 6-inch liner is usually correct. Using a smaller liner to fit an existing chimney can restrict exhaust flow and cause smoke spillage. Using a larger liner can reduce flue gas velocity and hurt draft, especially during start-up.
Length equals the vertical distance from the stove collar connection to the chimney termination, plus allowances for offsets and terminations. A two-story home might need 20 to 30 feet of liner, while a single-story installation might need 12 to 18 feet. Measure the actual run before ordering material.
Cost Estimates
Costs vary by region, liner height, diameter, accessibility, and whether other chimney repairs are needed. The figures below are estimates, not quotes.
| Item | Estimated Cost (USD) |
|---|---|
| Stainless steel liner, installed | 1,500-4,000 |
| Chimney sweep | 150-400 |
| Level 1 or Level 3 inspection | 150-800 |
| Chimney cap | 150-600 |
| Crown repair | 400-1,500 |
| Partial chimney rebuild | 5,000-15,000 |
Here is an example cost calculation for a typical installation:
- Liner material and labor: 2,500 USD (mid-range estimate)
- Chimney cap: 300 USD
- Pre-installation inspection: 300 USD
- Total estimated project cost: 2,500 + 300 + 300 = 3,100 USD
If the crown is cracked or the masonry is spalling, add repair costs before or during liner installation. A crown repair might add 400 to 1,500 USD. A partial rebuild, if the chimney structure is compromised, can range from 5,000 to 15,000 USD. Addressing structural issues first prevents paying to install a liner into a chimney that may need major work soon afterward.
Installation Process
A professional installation usually follows these steps:
- Inspect the chimney interior and exterior to confirm the masonry is sound.
- Sweep the flue to remove creosote and debris.
- Measure the flue run and order the correct liner diameter and length.
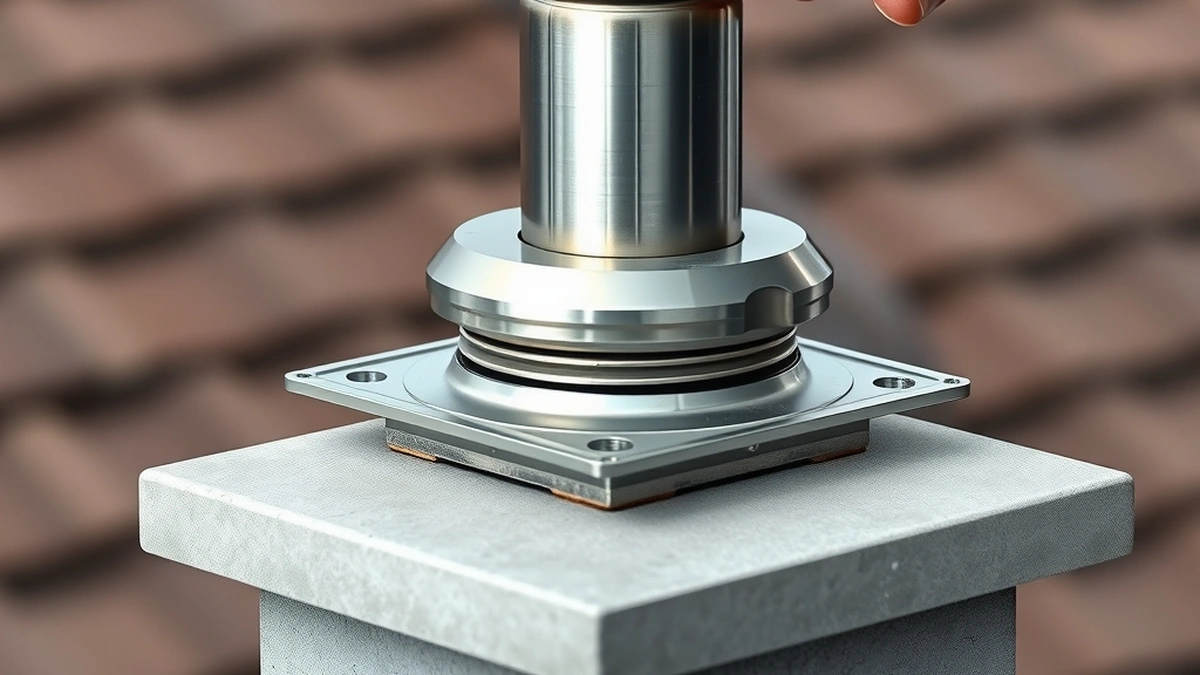
- Install a top plate or anchor plate at the chimney crown to support the liner.
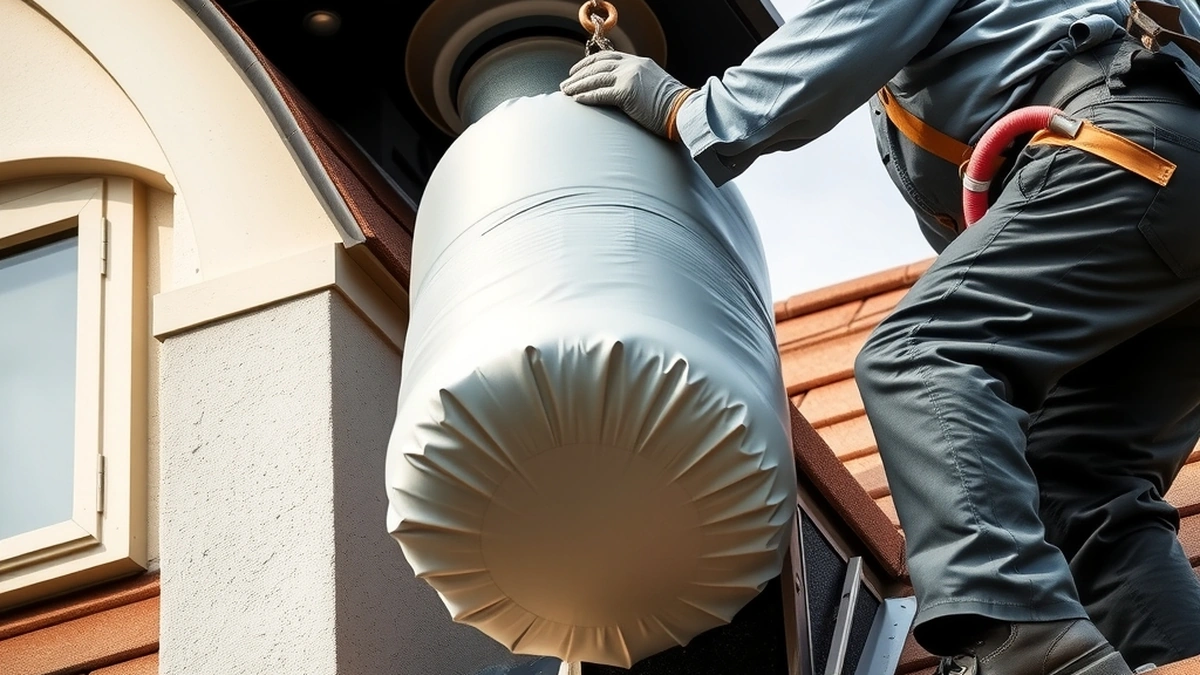
- Pull or lower the stainless steel liner from the top, securing it at the termination.
- Connect the liner to the stove adapter or connector pipe with sealed joints.
- Install a chimney cap with a mesh screen to keep out rain and animals.
- Test draft and inspect connections before the first fire.
Homeowners should not attempt to reline a wood stove chimney without training in solid fuel venting. Improper joints, incorrect sizing, or missing clearances can create fire and carbon monoxide hazards.
Related Chimney Work
A liner project often reveals other needs. If the chimney cap is missing or damaged, replacing it is a logical next step; caps typically cost 150 to 600 USD. A cap with a mesh screen helps prevent debris and animals from entering the flue while allowing smoke to exit. If the inspection shows damaged masonry, crown repair or repointing may be required before liner installation. For more on overall project pricing, see how much a chimney costs, and for broader context on installing a new system, review chimney installation basics.
If you are comparing fuel types, the requirements for a pellet stove chimney liner differ because pellet appliances operate at lower flue temperatures and often use smaller diameter vents. For furnace appliances, a chimney liner for furnace follows different code sections than solid fuel. Routine care after installation is covered in chimney maintenance, and if damage is found later, chimney repair services can address masonry or liner issues.
Maintenance After Installation
A stainless steel liner does not eliminate the need for sweeping. Wood smoke still creates creosote, and the liner should be inspected and cleaned at least once a year, or more often if you burn wood frequently or burn unseasoned fuel. A chimney sweep typically costs 150 to 400 USD. Check the cap after storms, monitor the stove connector for tight joints, and watch for signs of condensation or staining around the penetration.
Burning seasoned hardwood, maintaining proper burn temperatures, and avoiding smoldering fires reduce creosote accumulation and extend liner life. The EPA’s Burn Wise program offers practical tips on fuel selection and stove operation that complement a properly installed liner.
Next, compare stainless steel chimney liner, pellet stove chimney liner, chimney cap with mesh screen before you commit.
Frequently asked questions
Does a wood stove require a chimney liner?
Most wood stove installations require a listed liner that matches the appliance flue collar size and follows NFPA 211 and the manufacturer's instructions.
What size liner does a wood stove need?
Size depends on the stove's flue collar outlet; 6 inches is common, but you must match the appliance specification rather than guessing.
Can I use the existing masonry chimney without a liner?
An unlined masonry chimney generally does not meet modern wood stove requirements and can fail draft and safety standards.
How much does a stainless steel chimney liner cost?
Installed stainless steel liners typically range from 1,500 to 4,000 USD, depending on height, diameter, and accessibility.
Who should install a wood stove chimney liner?
A qualified chimney professional or installer familiar with solid fuel venting codes should perform the installation.
Is a chimney cap still needed with a liner?
Yes, a cap keeps rain, debris, and animals out of the top of the liner and masonry chimney.
Sources
Some links are affiliate links.If you buy through them we may earn a commission at no extra cost to you. We do not accept payment for rankings. Read the full disclosure.