Flashing repair problems: why leaks persist
Why chimney flashing leaks after repair: sealant over failed metal, counter-flashing not cut in, wrong sequence, and hidden deck rot. The fixes and costs.
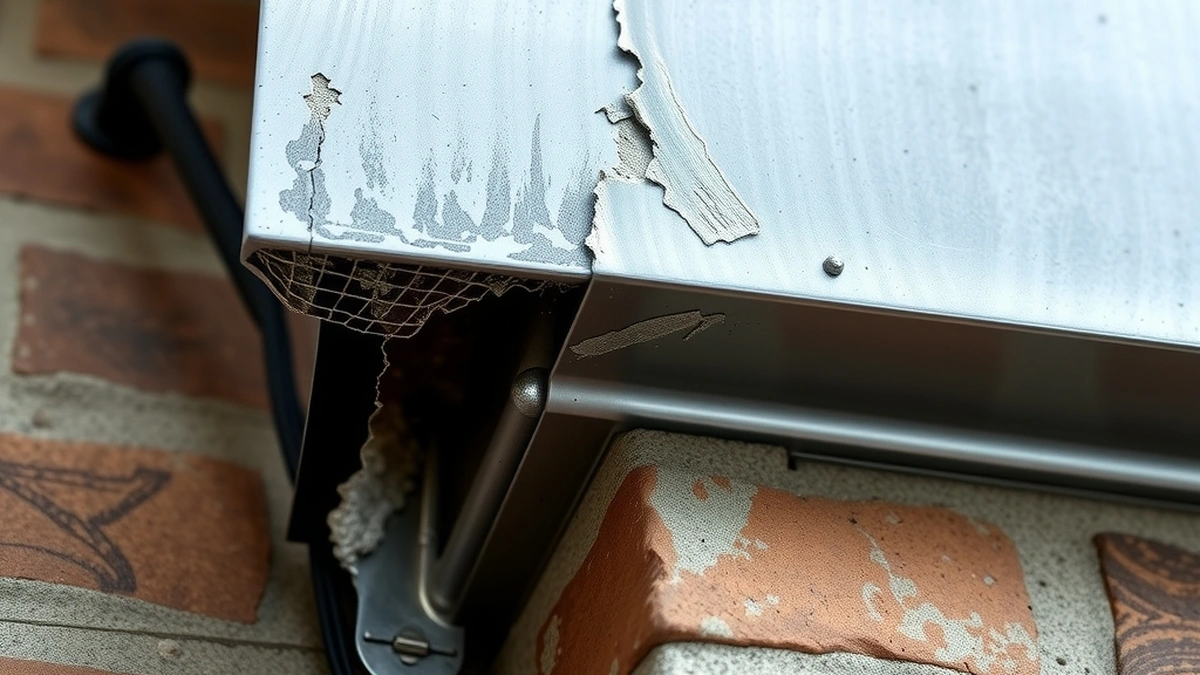
Flashing repair problems usually come from four causes: sealant used instead of new metal, counter-flashing surface-mounted rather than cut into the masonry, work done in the wrong sequence, and roof deck rot hidden under the shingles. Each leaves water a path.
- Typical repair
- $400 - $1,500
- Crown repair
- $400 - $1,500
- Cap
- $150 - $600
- Inspection
- $150 - $800
- Partial rebuild
- $5,000 - $15,000
Some links on this page are affiliate links.If you buy through them we may earn a commission at no extra cost to you. We do not accept payment for rankings. Read the full disclosure.
Most flashing repair problems are not metal failures. They are installation failures: sealant used where new metal was needed, counter-flashing mounted on the surface instead of cut into the masonry, or a repair done on top of a roof deck that was already rotten. Each leaves water a path, and each comes back as a leak in the same place.
What flashing has to do
Flashing seals the joint between a chimney and a roof, and that joint moves.
The roof and the chimney expand and contract at different rates, and the structure flexes. The flashing has to accommodate that movement while still shedding water.
That is why the detail matters more than the material. A perfectly good sheet of copper installed wrong leaks; a modest galvanised job installed right does not.
The four recurring failures
| Problem | What it looks like | Why it leaks |
|---|---|---|
| Sealant instead of metal | Bead of caulk along the joint | Sealant cracks within a season |
| Surface-mounted counter-flashing | Metal stuck to the brick, not cut in | Water gets behind the metal |
| Wrong sequence | New flashing under old shingles | Water travels along the old layer |
| Hidden deck rot | Soft sheathing under the repair | The substrate moves and opens the joint |
None of those are visible from the ground, which is why a leak that persists after a repair usually needs an inspection at the roof line rather than another tube of sealant.
Sealant, and the counter-flashing shortcut
Sealant is a legitimate material in flashing work. It belongs at a lap or a fastener, in a small amount, as part of a metal installation.
It is not a repair for failed flashing.
Two things happen when it is used that way. The sealant cracks as the joint moves, usually within a season. And it hides the failed metal underneath, so the next inspection starts from a worse position.
If a quote is for “resealing the flashing” rather than replacing it, ask what condition the metal is in and what happens when the sealant fails.
Counter-flashing that is not cut in.
Counter-flashing has to be set into a reglet — a groove cut into the masonry — and sealed there, with the metal overlapping the step flashing below.
The shortcut is to bend the metal against the brick face and seal the top edge. It looks neat and it fails, because water runs down the brick, behind the metal, and into the roof.
The tell is a horizontal bead of sealant on the brick above the flashing. A proper job has a cut joint, not a bead.
Sequence failures
Flashing has to be integrated with the roofing, not laid on top of it.
Step flashing goes in as the shingles are laid, one piece per course, each overlapping the one below. Counter-flashing then goes over it, cut into the masonry.
When a roofer re-covers a roof and leaves the old flashing in place, or when a mason repairs flashing without lifting the shingles, the layers do not interlock. Water finds the gap between the new work and the old.
Hidden deck rot
A leak that has been running for years rots the roof sheathing around the chimney.
New flashing fixed to rotten sheathing will not stay tight, because the substrate moves and the fasteners have nothing to hold.
The symptom is a leak that persists after a correct-looking repair, or a soft spot in the roof near the chimney. The fix is carpentry before metal, which raises the price above the usual $400 to $1,500 band.
The leak that is not the flashing, and how to repair it properly
Flashing is one of four water paths on a chimney. The others are the crown, the brick face, and the flue opening.
A leak that appears only in wind-driven rain points to flashing.
A leak in any heavy rain that tracks down the stack points to the crown.
A damp patch at the top of the flue points to a missing cap.
Damp masonry below the roof line with no interior staining points to the brick face.
Diagnosing which one you have is the difference between a repair that works and one that does not. Our chimney leak repair guide covers the paths in order, and crown rebuild reviews covers the top-of-stack repair.
Repairing it properly.
- Inspect at the roof line, not from the ground.
- Check the deck for soft spots and staining.
- Remove the old flashing and the shingles around the chimney.
- Install step flashing as the shingles are re-laid.
- Cut a reglet and set the counter-flashing into the masonry.
- Seal the reglet and check the crown and cap while on the roof.
Steps 3 and 5 are the ones that cost money and the ones that get skipped.
What flashing work does not cover
Flashing is roof-line metal and masonry. It does not cover the flue, the liner, or the appliance connection.
Any inspection or repair of the flue, and any change to combustion-appliance venting, belongs with a qualified chimney technician. A leak around the flashing is a building-envelope problem; a flue problem is a venting issue, and they are diagnosed separately.
Cost of getting it wrong
A proper flashing repair at $400 to $1,500 is the cheap path.
A sealant repair at a fraction of that, repeated every two years, costs more over a decade and lets water into the deck. Once the deck is rotten, carpentry is added, and once the masonry is saturated, repointing and eventually a rebuild at $5,000 to $15,000 follow.
Our flashing repair cost page covers the pricing, and flashing repair maintenance covers the check that catches a failure before the deck is damaged.
Frequently asked questions
Why does my chimney still leak after flashing repair?
Either the repair was sealant over failed metal, the counter-flashing was mounted on the surface instead of cut into the masonry, or the water is entering somewhere else such as the crown or brick face.
Can flashing be repaired with caulk or sealant?
Only as a temporary measure. Sealant on a roof line that moves with temperature fails within a season or two, and it hides the failed metal underneath.
What is counter-flashing and why does it matter?
Counter-flashing is the metal set into the masonry above the step flashing, overlapping it so water runs down and out. If it is surface-mounted and sealed, water gets behind it.
Why do leaks appear only in wind-driven rain?
That pattern points to flashing. Wind pushes water uphill and sideways into a joint that normal rain would not reach, which is why a flashing defect often shows only in storms.
How long should flashing last?
Copper and lead commonly last 50 years or more; galvanised steel may last 20 to 30. Most failures are installation or sealant related rather than the metal reaching its limit.
Does flashing repair include the crown?
No. The crown is separate at $400 to $1,500. Both are water paths and should be assessed together, because fixing one while the other leaks wastes the first repair.
Sources
Some links are affiliate links.If you buy through them we may earn a commission at no extra cost to you. We do not accept payment for rankings. Read the full disclosure.