Tuckpointing installation: how joints are renewed
How chimney tuckpointing is installed: cutting joints to depth, matching mortar, packing in passes, tooling, and curing. Why the mix decides how long it lasts.
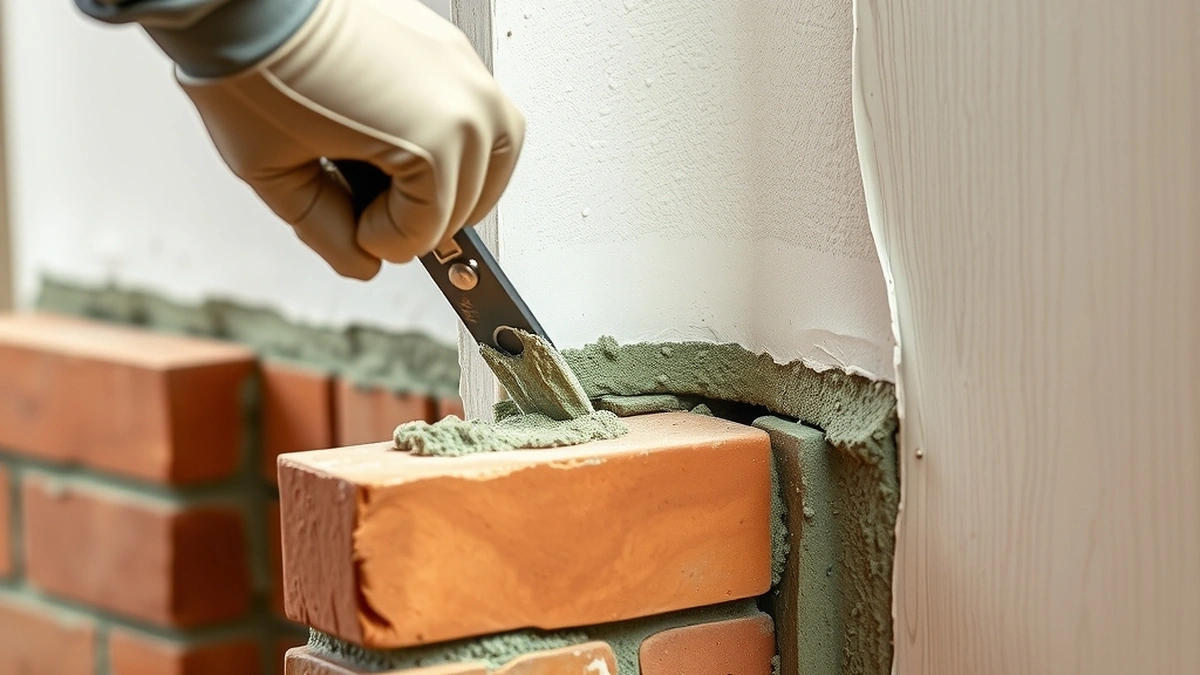
Tuckpointing installation means cutting the eroded mortar out to about twice the joint width, cleaning the joint, packing in mortar matched to the original brick, tooling the surface, and curing it damp. Hard modern mortar on soft old brick causes spalling.
- Joint depth
- About twice the width
- Mortar type
- Matched, softer than brick
- Spot repointing
- $400 - $1,500
- Working temperature
- Above about 40 F
- Cure
- Damp, several days
Some links on this page are affiliate links.If you buy through them we may earn a commission at no extra cost to you. We do not accept payment for rankings. Read the full disclosure.
Tuckpointing installation is a sequence of small, careful steps: cut the joint back, clean it, dampen it, pack in matched mortar, tool it, and cure it. Done properly it lasts twenty to thirty years. Done with the wrong mortar it can destroy the brick within a decade.
What the job is
Tuckpointing, or repointing, is the renewal of the outer mortar in a masonry joint. The mortar is the sacrificial layer of a brick wall: it is softer than the brick, erodes first, and takes the freeze-thaw damage so the brick does not.
When the joints recede, the wall loses its weather skin. Water enters, the masonry stays wet, and the erosion accelerates.
Repointing restores that skin. It does not restore brick that has already spalled.
Tools and materials
| Item | Purpose | Notes |
|---|---|---|
| Angle grinder with tuckpointing blade | Cutting out old mortar | Dust control required |
| Pointing trowel | Packing mortar | Narrow blade for joints |
| Joint raker or chisel | Removing remaining mortar | For areas a blade cannot reach |
| Stiff brush | Cleaning the joint | Remove all loose material |
| Mortar board and hoe | Mixing small batches | Match colour and strength |
| Spray bottle | Damp curing | Keeps mortar from drying too fast |
The grinder is the tool that makes this a professional job. It produces silica dust, which requires respiratory protection and, in most jurisdictions, dust suppression.
Steps 1 and 2: cut back, clean, and dampen
Cut the mortar out to a depth of about twice the joint width, and never less than a quarter inch.
The depth matters for two reasons. Shallow cuts leave old, weak mortar behind, and the new material debonds from it. Deeper cuts give the new mortar enough body to key into the brick and stay put.
Work carefully around the brick edges. A grinder that wanders scores the brick face, and a scored face is where spalling starts.
Clean and dampen.
Brush out all dust and loose mortar. Compressed air helps, but the joint still needs brushing.
Then dampen the joint. Dry brick sucks water out of fresh mortar, which stops it curing properly and produces a crumbly joint. A spray bottle is enough; the brick should be damp, not running wet.
Step 3: match the mortar
This is the step that decides the life of the repair.
The new mortar has to be weaker and more permeable than the brick, and close to the original in colour and composition. On older chimneys, that usually means a lime-rich mix rather than a modern high-cement mortar.
Modern hard mortar on soft old brick concentrates freeze-thaw damage in the brick face. The joints stay perfect while the brick spalls, and the fix becomes a rebuild at $5,000 to $15,000 rather than a repoint at $400 to $1,500.
Ask what mix is being used and why. A mason who can explain the choice is a mason worth hiring.
Steps 4 and 5: pack and tool
- Wet the joint again if it has dried.
- Press mortar into the joint with the pointing trowel, working from the bottom up.
- Pack in thin passes rather than one thick fill, so each layer compacts.
- Let each pass firm slightly before adding the next.
- Fill to slightly proud of the brick face.
Packing in passes is slower and it is what stops the joint shrinking away from the brick as it cures.
Tool and finish.
Tool the joint while the mortar is still workable, using a jointer or a shaped trowel.
Tooling compresses the mortar against the brick and forms a slight concave or weather-struck profile that sheds water. A joint left flat or raked is a joint that holds water.
Match the existing profile. A chimney repointed with a different joint shape reads as a patch from the ground, even when the colour matches.
Step 6: cure
Mortar sets within a day and reaches working strength over about a week.
In hot, dry, or windy weather, mist the fresh joints for the first few days. Fast drying causes shrinkage cracks, and shrinkage cracks are the beginning of the next repointing job.
Protect the work from rain for the first 24 hours and from freezing for the first week.
Where the job stops, including the crown above it
Repointing is the middle of a sequence, not the whole job.
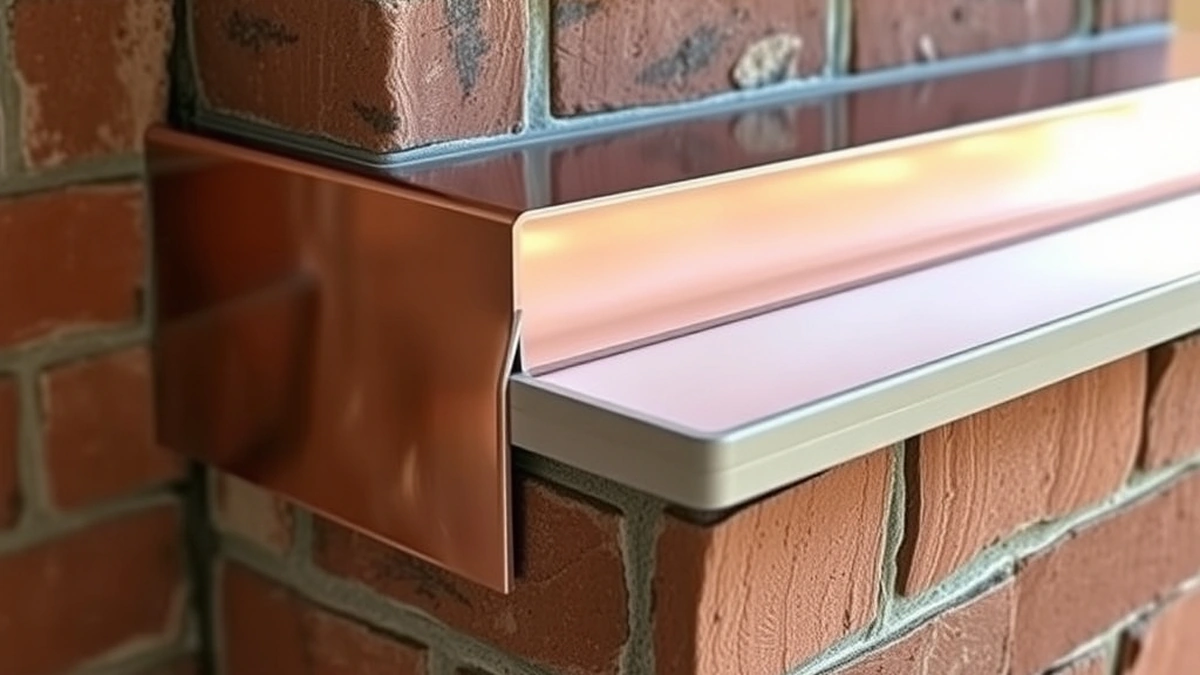
If the crown is cracked or flat, water enters the top of the stack and runs down through the new joints. If the flashing at the roof line has failed, water enters behind the brick.
Fix those first, then repoint. Our crown rebuild reviews page covers what a sound crown looks like, and flashing repair cost covers the roof-line scope.
Three conditions mean repointing is not the right repair.
Spalled brick. Where faces have flaked away, there is nothing for mortar to hold. The brick has to be replaced.
Crumbling inner wythe. If the inside of the wall has failed, repointing the outside is cosmetic.
A structural lean or separation from the house. Movement has to be assessed before any cosmetic work, and that assessment is an engineer’s job, not a mason’s.
Work on the flue or on combustion-appliance venting is also outside this scope. Any change to flue sizing, liner, or appliance connection belongs to a qualified chimney technician.
What it costs and how long it lasts
Spot repointing runs $400 to $1,500. A full repoint above the roofline costs more, because the area and access are larger.
A correctly repointed chimney with sound brick and a working crown lasts twenty to thirty years. Repointing under a failed crown lasts a few seasons, because the water never stopped.
For pricing detail, see tuckpointing cost. For the failures to watch for afterward, tuckpointing problems covers the common ones, and tuckpointing maintenance covers the annual check.
Frequently asked questions
How is tuckpointing done?
The old mortar is cut out to roughly twice the joint width, the joint is cleaned and dampened, new mortar matched to the brick is packed in passes, then tooled and cured damp for several days.
How deep should mortar joints be cut?
About twice the width of the joint, and never less than a quarter inch. Shallower cuts leave old mortar behind and the new repair sits on a weak base.
What mortar should be used on an old chimney?
A mix matched to the original, usually softer and more permeable than modern high-cement mortar. On pre-1930 brick that often means a lime-rich mix. The mortar must be weaker than the brick.
Can tuckpointing be done in cold weather?
Not safely below about 40 F without protection and heat. Mortar that freezes before it sets loses strength and the repair fails in its first winter.
How long does repointing take to cure?
It sets within a day and reaches working strength over about a week. Damp curing for the first few days improves strength and reduces shrinkage cracking.
Does tuckpointing need a permit?
Usually not for repointing alone, but scaffolding, historic districts, and structural work can bring requirements. Ask the contractor who is pulling any permit and get it in writing.
Sources
Some links are affiliate links.If you buy through them we may earn a commission at no extra cost to you. We do not accept payment for rankings. Read the full disclosure.