Tuckpointing maintenance: the annual check
Repointed joints last 20-30 years with a yearly check. What to inspect each spring, how to measure joint erosion, and the water paths that undo good masonry.
Tuckpointing maintenance is a yearly inspection of the joints, crown, cap, and flashing, plus a repoint when joints recede past about a quarter inch. Most repointing lasts twenty to thirty years when the water paths above it stay sealed.
- Inspection interval
- Once a year, in spring
- Joint erosion limit
- About 1/4 inch
- Repoint cost
- $400 - $1,500
- Crown repair
- $400 - $1,500
- Expected repoint life
- 20-30 years
Some links on this page are affiliate links.If you buy through them we may earn a commission at no extra cost to you. We do not accept payment for rankings. Read the full disclosure.
Tuckpointing maintenance is a yearly walk-around, not a yearly repair. Inspect the joints, crown, cap, and flashing each spring, and repoint when the joints have receded about a quarter inch. A correctly repointed chimney then lasts twenty to thirty years — provided the water that caused the erosion in the first place is still being kept out.
What you are maintaining
Tuckpointing is the renewal of the outer mortar in a masonry joint, cut back and replaced with mortar matched to the brick.
The mortar is the sacrificial layer. It is softer than the brick by design, so it erodes first and absorbs the freeze-thaw damage that would otherwise spall the brick face.
Maintenance is therefore about two things: noticing when the sacrificial layer is nearly used up, and making sure the water feeding the erosion is not still arriving.
What to check each spring
| Check | What good looks like | What to act on |
|---|---|---|
| Joint depth | Flush or slightly recessed | Recessed about 1/4 inch |
| Mortar texture | Firm, slightly sandy | Crumbles under a fingernail |
| Brick faces | Flat, intact | Flaking in sheets |
| Crown | Sloped, overhanging | Flat, cracked, or mossy |
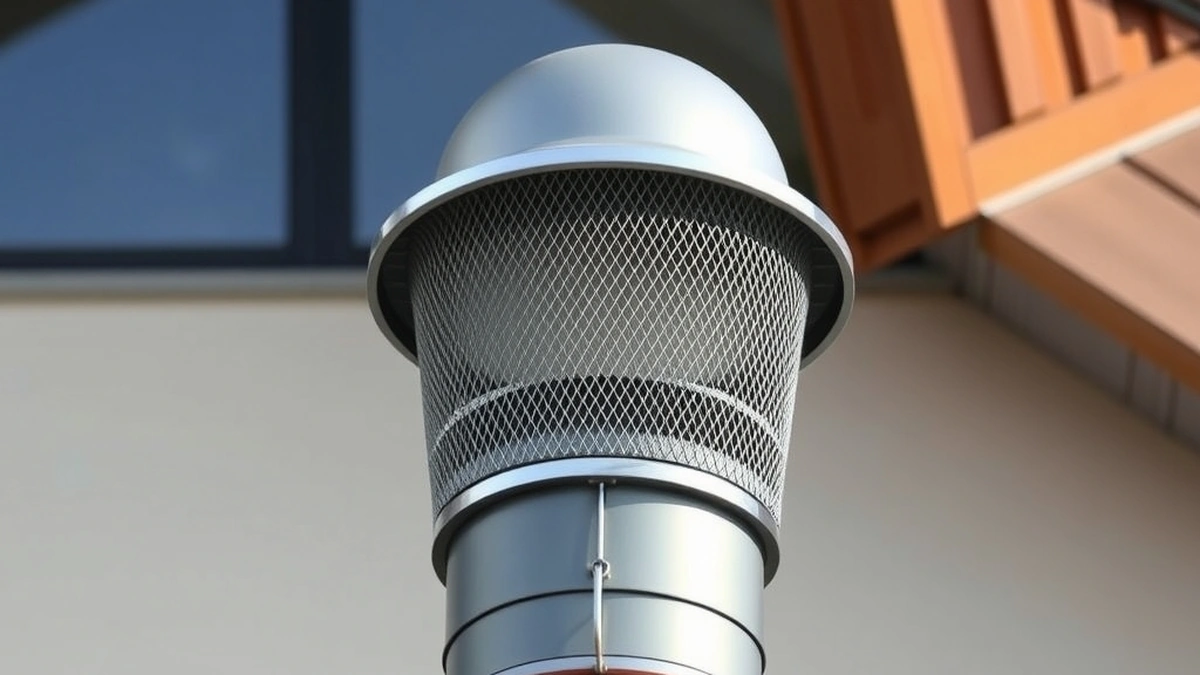
| Cap | Present and secure | Missing or rusted through |
| Flashing | Tight to the roof | Lifted, rusted, or tarred over |
| Efflorescence | None | White staining after rain |
The last two rows are the ones that explain most joint erosion, and they are the ones a masonry-only inspection tends to miss.
Do the walk-around after rain rather than before. Wet masonry shows the failures clearly: dark streaks below a joint mean water is running through it, and a damp band at the top of the stack points at the crown. A dry inspection flatters the chimney.
Measuring joint erosion
Joint erosion is the number that decides when to repoint.
Compare the mortar surface with the brick face. A joint that is flush, or recessed by an eighth of an inch, is still doing its job.
At about a quarter inch of recession, the joint has lost enough material that water can sit on the ledge and the mortar has lost its weather skin. That is the point to book a repoint.
Beyond a quarter inch, the erosion accelerates, because the recess holds water and the freeze-thaw cycle works on a wider surface each winter.
Efflorescence and what it tells you
White staining on brick is efflorescence: salts left behind when water evaporates from the masonry.
It is not a defect in the brick or the mortar. It is evidence that water is moving through the wall.
The water could be coming from the crown, the flashing, a cracked joint, or the brick itself. Finding the source is the work; cleaning the stain is cosmetic and it will return.
If efflorescence appears in a band below a specific height, that is a strong hint about where the water enters.
The order of repairs
- Inspect the crown, cap, and flashing first.
- Fix any water path at the top or the roof line.
- Repoint joints that have receded past a quarter inch.
- Replace spalled brick rather than pointing around it.
- Recheck after the first heavy rain.
Doing step 3 before step 2 is the most common maintenance error, because the new joints then take the water that is still coming in.
Our crown rebuild reviews page covers what a sound crown looks like, and flashing repair cost covers the roof-line scope.
What not to do, and when the flue is the issue
Four habits shorten the life of repointed masonry.
Painting the chimney. Masonry paint traps moisture and accelerates spalling. It hides the symptom and shortens the life of the wall.
Applying a film-forming sealer. A breathable water repellent can help on sound masonry; a film-forming product cannot, because it stops the wall drying outward.
Ignoring a cracked crown. Water entering at the top travels down through the stack, and no amount of joint maintenance compensates.
Pointing over spalled brick. There is nothing for the mortar to hold, and the repair fails within a season.
When the flue is the issue.
Masonry maintenance covers the brick and mortar. It does not cover the flue liner, the damper, or the appliance connection.
Those are combustion-appliance venting systems, and any inspection, cleaning, or alteration belongs with a qualified chimney technician working to the appliance manufacturer’s instructions and local code.
A cracked flue tile is a separate defect from eroded joints, and the usual repair is a stainless liner at $1,500 to $4,000. Confusing the two is how homeowners end up repointing a chimney that actually needed a liner.
The maintenance budget
Annual inspection at $150 to $800. Spot repointing at $400 to $1,500 when due, roughly every twenty to thirty years. Crown repair at $400 to $1,500 when the top fails, which is more often than the joints. Cap at $150 to $600 when it rusts out.
Over thirty years, that is far below the $5,000 to $15,000 partial rebuild that follows years of unchecked water. The comparison is the whole argument for the yearly walk.
A note on access
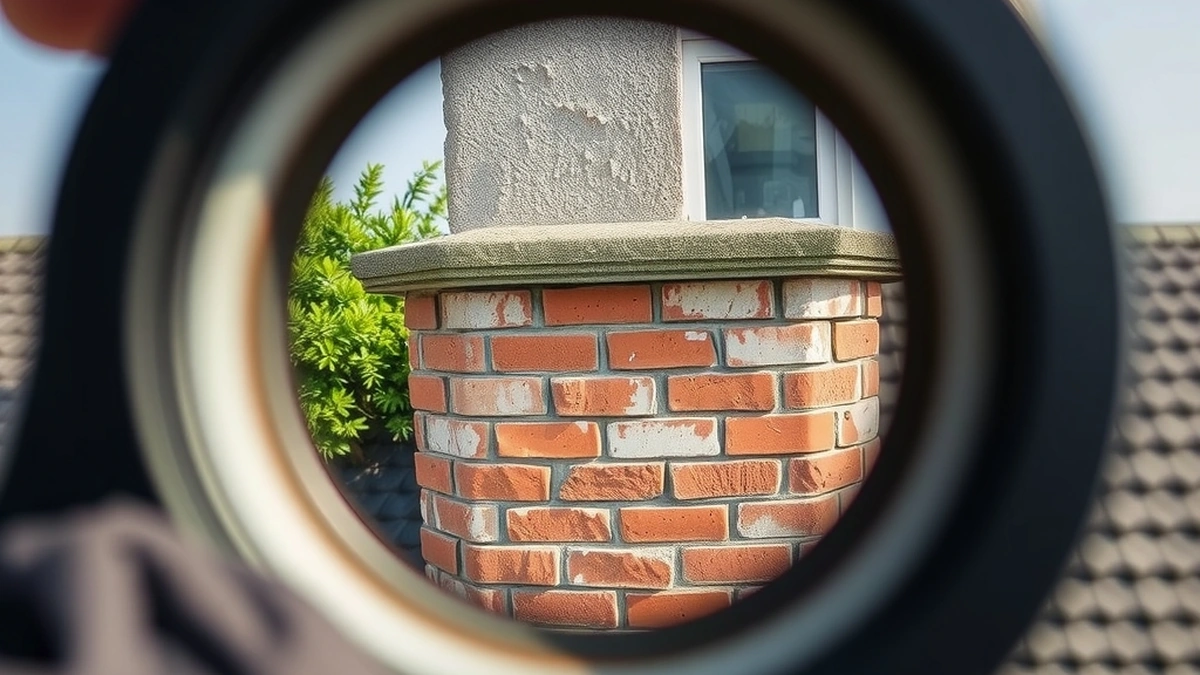
Inspect from the ground with binoculars. Do not climb a roof to check joints unless you are trained and equipped for it, and do not open a flue or disturb an appliance connection to look inside.
Anything above ground level, and anything involving the flue, is technician work. Our chimney inspection cost page covers what a professional inspection includes, and tuckpointing problems covers the failures to look for between visits.
Frequently asked questions
How often does tuckpointing need maintenance?
Inspect once a year in spring, after the freeze-thaw season. Repoint when joints have receded about a quarter inch or when mortar crumbles under a fingernail.
How long does repointing last?
Twenty to thirty years when the mortar is matched to the brick and the crown, cap, and flashing are sound. Repointing under a failed crown often fails within a few seasons.
Can I check my own chimney joints?
From the ground with binoculars, yes. Anything at height, and any work on the flue or appliance venting, belongs with a qualified chimney technician.
What does efflorescence mean on a chimney?
White staining means water is moving through the masonry and leaving salts behind. It is a symptom of a water path, not a masonry defect in itself.
Should I seal a chimney to protect the mortar?
A breathable water repellent can help on sound masonry. A film-forming sealer traps moisture and accelerates spalling, so avoid anything that does not allow the wall to dry.
How much does maintenance cost compared with a rebuild?
An annual inspection runs $150 to $800. A repoint is $400 to $1,500. A partial rebuild, which is what unchecked water damage leads to, is $5,000 to $15,000.
Sources
Some links are affiliate links.If you buy through them we may earn a commission at no extra cost to you. We do not accept payment for rankings. Read the full disclosure.