Stainless relining installation: the actual process
What happens on install day, from inspection and measurement to the top plate and the first test, plus the decisions that decide whether the job goes well.
Stainless relining installation runs from a camera inspection and measurement through liner assembly, insulation, lowering, top plate sealing, and the appliance connection, and it takes one to two days. The prep decides the outcome more than the liner does.
- Typical duration
- One to two days
- Crew size
- Two technicians
- Installed cost
- $1,500 - $4,000
- Inspection before work
- $150 - $800
Some links on this page are affiliate links.If you buy through them we may earn a commission at no extra cost to you. We do not accept payment for rankings. Read the full disclosure.
Stainless relining installation is a one-day job on a straightforward flue and a two-day job on most of the chimneys that actually need one. The liner goes in fast. The preparation — inspection, measurement, damper removal, and the top plate — is where the time goes, and it is where a job either seals properly or leaks for a decade.
An installation is not a product you buy off a shelf. The same liner installed with a proper plate and insulation lasts; installed without them, it corrodes from the outside in.
What the job involves
Stainless relining installation is the process of fitting a stainless flue liner inside an existing chimney and connecting it to both the appliance and the outdoor termination. It includes measurement and sizing, liner assembly, insulation, lowering, top termination, bottom connection, and a draft test.
The liner is one component of a listed system. The insulation, the top plate, the cap, and the appliance adapter are the rest, and the listing covers the assembly rather than the pipe alone.
Before the liner goes in
The first hour decides the job. A camera inspection at $150 to $800 confirms the flue is sound enough to receive a liner, measures the internal dimensions, and finds the offsets and obstructions that will not show from the roof.
A sweep at $150 to $400 removes the soot and creosote. Liner sizing depends on a clean wall, and residue left behind sits between the liner and the masonry, which is where condensation collects.
Then comes the measurement that matters most: the height from the appliance collar to the top of the crown, the flue’s cross-section at its narrowest point, and the diameter the appliance requires. A liner that fits the average flue but not the narrowest point does not go in.
The installation sequence
- Sweep the flue and run a camera inspection, recording the flue at the top, middle, and bottom.
- Measure the height, the narrowest cross-section, and the appliance collar, then specify the liner.
- Remove the damper or cut the frame if the liner and its insulation will not pass.
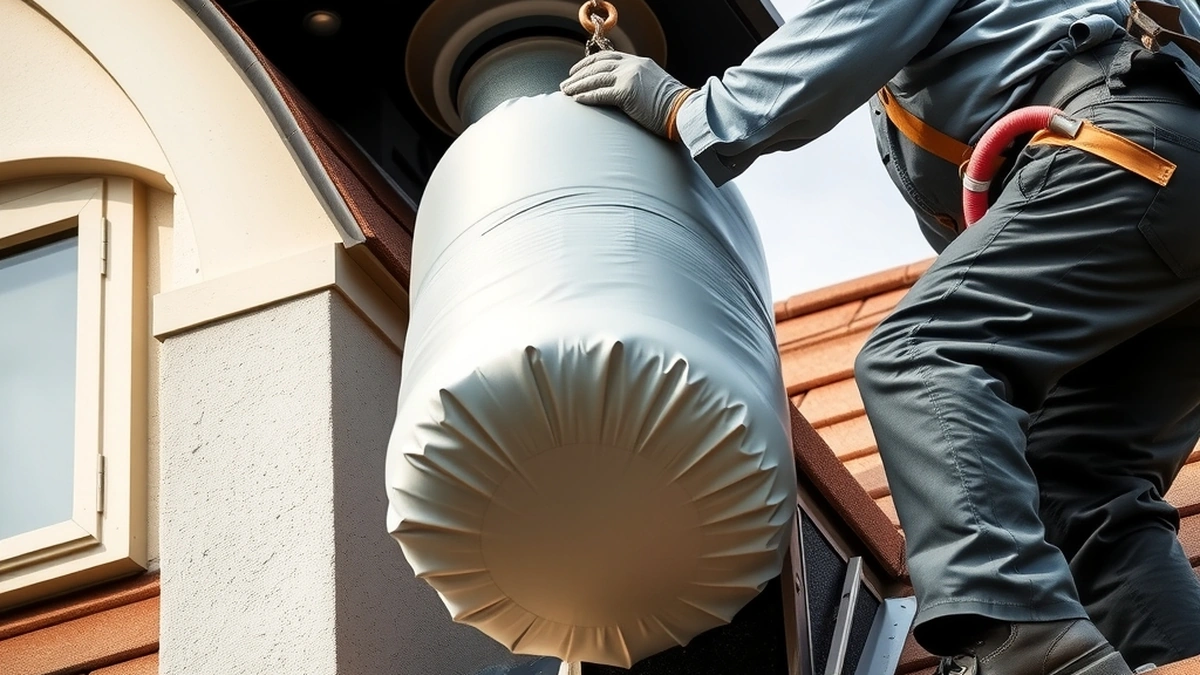
- Assemble the liner and attach the insulation wrap, keeping the wrap continuous over the joints.
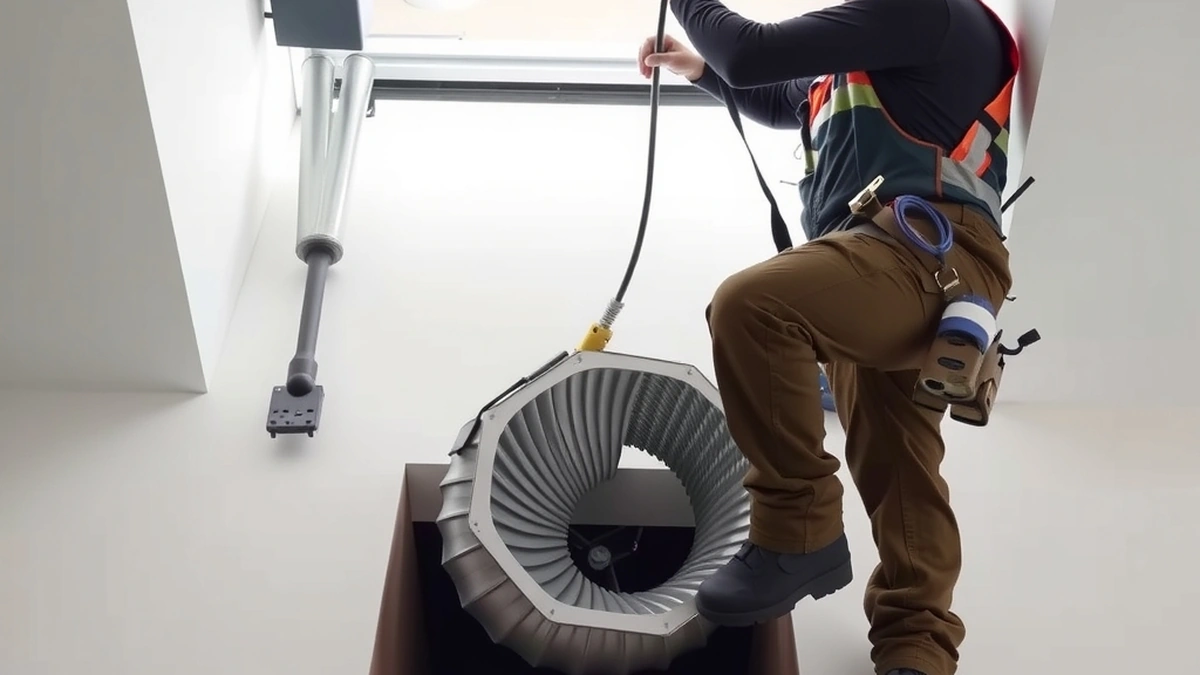
- Lower the liner from the top with a pulling cone, guiding it past offsets and the smoke chamber.
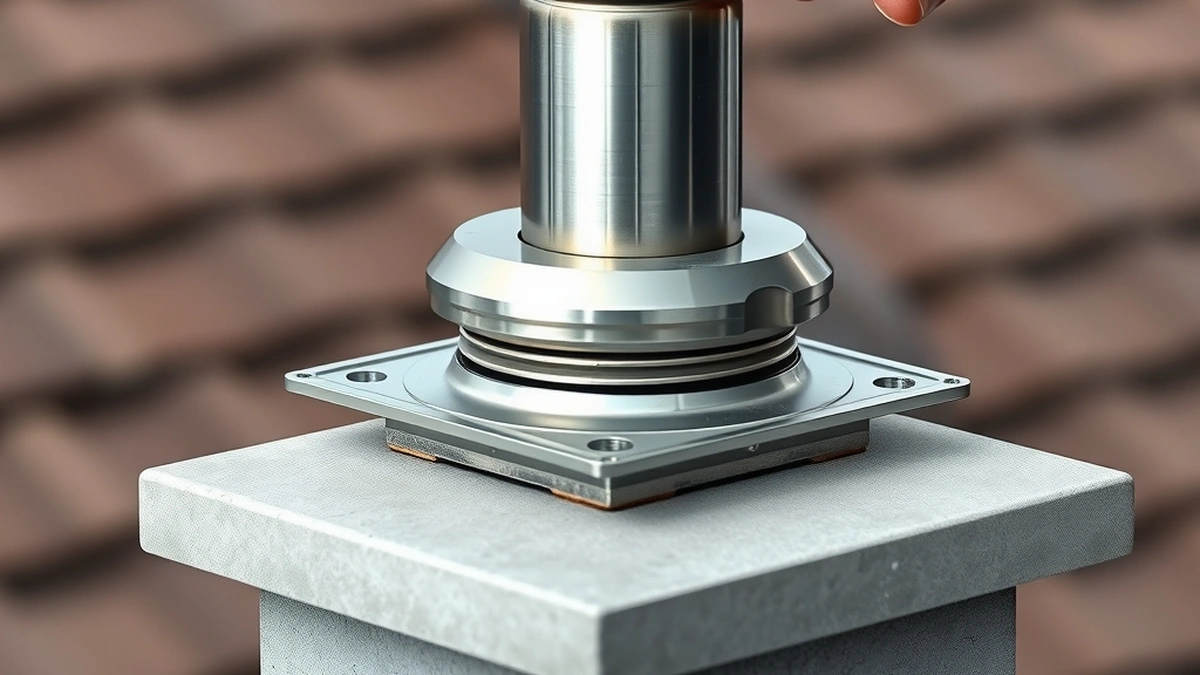
- Fit and seal the top plate, then install the cap above it.
- Connect the bottom to the appliance with a listed adapter or tee, and test the draft with a small fire.
Step three is the common schedule risk. Damper frames are often set into the masonry, and cutting one is a masonry task that adds hours and dust.
Rigid versus flexible, and where each belongs
| Liner type | Best use | Trade-off |
|---|---|---|
| Flexible corrugated | Offsets, older flues, most retrofits | More surface, harder to sweep |
| Flexible smooth wall | Straight-to-moderate runs | Small cost premium |
| Rigid sections | Straight flues, best draft | Cannot navigate an offset |
Most jobs use flexible because most chimneys are not perfectly straight. Rigid sections are assembled as they are lowered and give the best flow, which matters on a tall flue or a marginal draft. The choice is a measurement decision, not a preference.
Insulation and the clearance claim
The wrap does two jobs. It keeps the flue gas hot so the chimney drafts and creosote stays gaseous rather than condensing on the metal. And it allows the liner to be installed with reduced clearance to combustibles, which is what makes a liner legal inside a framed chase or close to roof framing.
Uninsulated installations are permitted in some configurations, usually where the masonry provides the clearance. They are a poor choice on an exterior chimney in a cold climate, where the liner runs cold for the first part of every fire.
The top plate and why it fails
The top plate is a stainless plate sized to the flue opening, with a collar for the liner, sealed to the crown. It is the part that keeps rain out of the insulation and stops the old flue from acting as a parallel chimney beside the new liner.
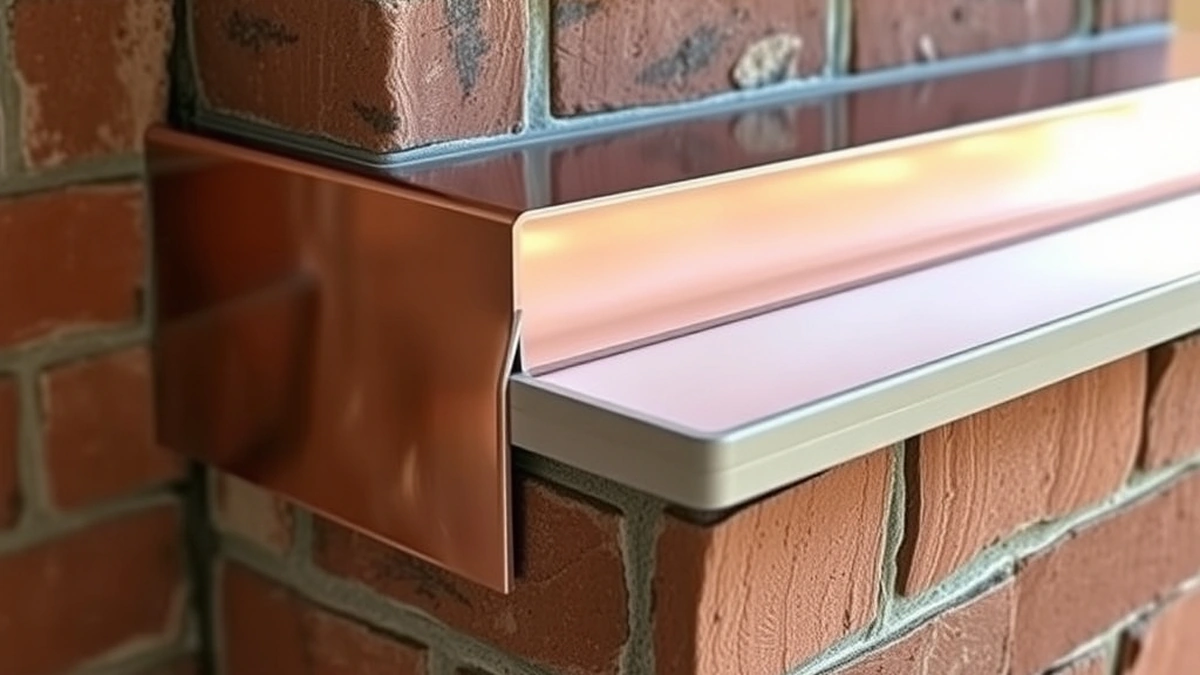
It fails for two reasons. The plate is undersized, so it sits inside the flue rather than over it, and water runs around the edge. Or the crown is cracked, so the seal has nothing solid to sit on. In the second case the crown gets repaired first at $400 to $1,500, and the plate goes on afterward.
A cap above the plate adds $150 to $600 and is not optional in practice. An open flue is an animal entrance and a rain inlet.
The bottom connection
The bottom is where installation quality shows in daily use. A fireplace insert connects with a collar and a short length of pipe; a wood stove may need a tee if the flue enters from the side; a furnace connects with a listed adapter matched to its outlet.
Every joint below the liner has to be sealed with a product rated for the temperature, not duct tape or silicone meant for a bathroom. A leak here puts flue gas into the room at the point where the appliance is closest to the occupants.
Testing and the first fire
The last step is a draft test. Light a small fire, watch the smoke at the termination, and check that nothing spills at the appliance. A natural draft appliance should pull steadily once the flue warms; a direct vent appliance should show no leakage at any joint.
Then check the top again from the ground or with a camera. A liner that has slipped on its plate, or a cap that is not seated, is visible in the first five minutes and expensive to find in the first storm.
For the price of the job, see stainless relining cost. For the problems that follow a bad install, see stainless relining problems. For the material comparison, see chimney liner cost. For annual care, see stainless relining maintenance.
Frequently asked questions
How long does stainless relining installation take?
One day for a straight single flue with ladder access. Two days when the job needs scaffolding, a damper frame cut out, an offset navigated, or a second flue lined.
Does the chimney have to be cleaned before relining?
Yes. Creosote and soot have to come out so the liner can be sized and so the residue does not sit between the liner and the chimney wall. Expect $150 to $400 for the sweep.
How is the liner held in place?
At the top by a plate bolted or screwed to the crown, and at the bottom by the appliance connection. The liner hangs from the top plate; it is not glued or mortared into the flue.
Can a liner be installed from the bottom?
Sometimes, when the roof is unsafe or access is impossible. Bottom-up installation is slower and works best with a flexible liner that can be pushed and guided from below.
What is a top plate and why does it matter?
The plate caps the space between the liner and the chimney flue at the top. It keeps water out of the insulation and stops the old flue from acting as a chimney alongside the new liner.
How soon can the fireplace be used after installation?
Normally the same day, once the connection is sealed and the draft is checked. If mortar or sealant was used around the plate, follow the product's cure time before a full fire.
Sources
Some links are affiliate links.If you buy through them we may earn a commission at no extra cost to you. We do not accept payment for rankings. Read the full disclosure.