Wood stove chimney liner: sizing and installation
Why a wood stove needs a dedicated liner, how to size it, when insulation is required, and the installation sequence from inspection to first fire.
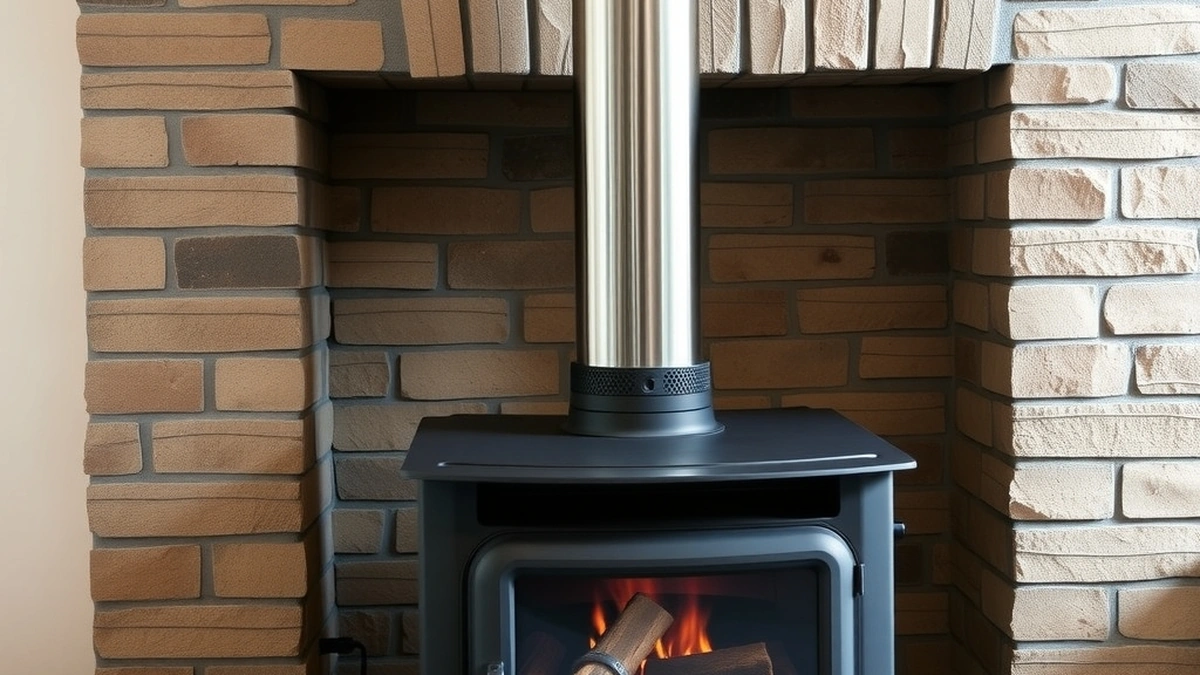
A wood stove needs a liner sized to its flue collar, usually 6 inches, running the full height of the chimney. The liner keeps flue gases hot, protects the masonry, and provides the draft the stove was designed for. Installed cost runs $1,500 to $4,000.
- Common diameter
- 6 inches
- Installed cost
- $1,500 - $4,000
- Insulation
- Required on exterior chimneys in practice
- Inspection first
- $150 - $800
Some links on this page are affiliate links.If you buy through them we may earn a commission at no extra cost to you. We do not accept payment for rankings. Read the full disclosure.
A wood stove chimney liner is a stainless flue pipe that runs from the stove’s flue collar to the top of the chimney, and a stove needs one whenever it vents into a masonry chimney. The reason is sizing. A fireplace flue is built large, often 8 by 12 inches or more, and a modern stove with a 6-inch collar cannot keep a passage that size warm.
The result of skipping the liner is predictable: weak draft, smoke spillage on reload, and creosote condensing on cold tile. The liner fixes all three at once, which is why it is the standard installation rather than an upgrade.
What the liner does
A wood stove chimney liner is the corrosion-resistant, correctly sized flue that carries exhaust from the appliance to the outdoors. It performs three jobs at once. It contains the smoke and keeps it off the masonry. It holds heat in the exhaust column so the chimney drafts. And it gives the appliance the vent diameter its testing assumed.
The last point is the one homeowners underestimate. A stove is tested with a specific flue size, and the draft it produces depends on that size. Put the same stove on a flue twice as large and the exhaust cools before it reaches the top, the draft weakens, and the fire runs dirty.
Sizing: match the collar, then check the run
Start with the flue collar on the stove. Most residential wood stoves use 6 inches; larger appliances and some older models use 8. The liner should match, not exceed it by a step.
Height then sets whether the size will work in practice. A short chimney with a 6-inch liner may struggle where a tall one draws well, and an exterior chimney loses more heat than an interior one. The manufacturer’s manual gives the minimum flue height for the appliance, and that number takes priority over any rule of thumb.
Two errors are common. The first is a liner that is too small, often created by squeezing a 5-inch liner into a flue when the stove needs 6, which chokes the appliance. The second is a liner that is too large, usually inherited from the old fireplace flue, which cools the exhaust and builds creosote. Neither is fixed by adjusting the stove; both are fixed by the liner.
Insulated versus uninsulated
| Setup | Draft in cold weather | Creosote risk | Clearance to combustibles |
|---|---|---|---|
| Uninsulated liner | Slower warm-up, weaker | Higher at the top | Larger |
| Wrapped liner | Stronger, faster warm-up | Lower | Reduced |
| Blanket in an oversized flue | Strongest | Lowest | Reduced |
On an exterior chimney, the uninsulated liner is a cold metal tube for the first twenty minutes of every fire, and that is exactly when creosote forms. The wrap costs material and an hour of labor, and it is the difference between a liner that runs clean and one that needs brushing twice a season.
Insulation also carries a code benefit. A listed liner with the correct insulation can be installed with reduced clearance to combustibles, which matters when the chimney passes through a framed chase or close to roof framing.
The installation sequence
- Inspect the flue with a camera and confirm the tile is sound enough to receive a liner, or plan the repairs first.
- Measure the height and the flue’s internal dimensions, and check for offsets, dampers, and obstructions.
- Remove the damper or cut the frame if the flue will not pass the liner and its insulation.
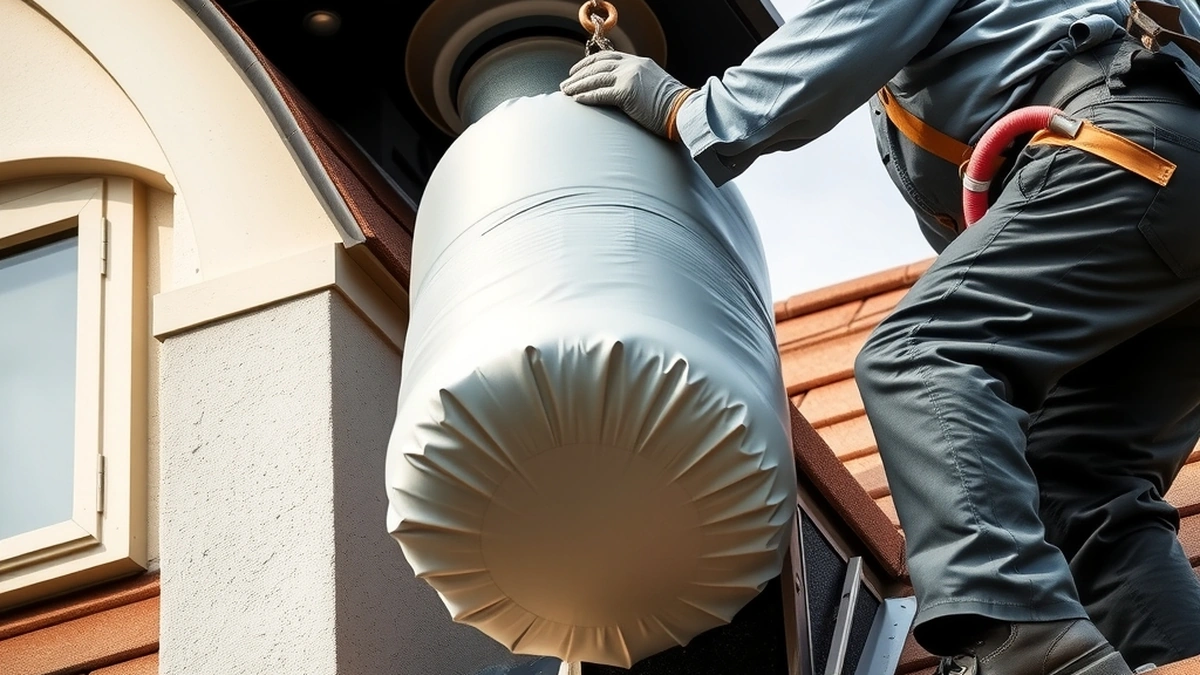
- Assemble the liner, attach the insulation wrap, and lower it from the top with a pulling cone.
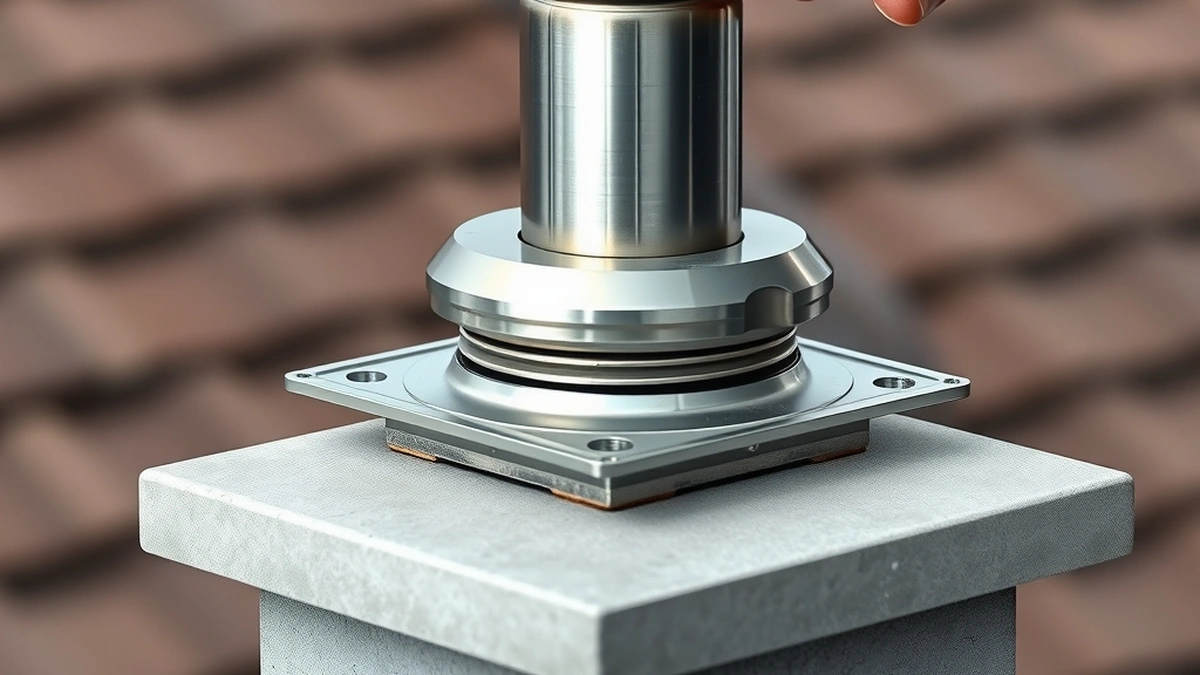
- Seal the top with a plate sized to the flue and a cap above it, keeping rain and animals out.
- Connect the bottom to the stove with a listed adapter or tee, then test draft with a small fire.
Step three is where schedules slip. A damper frame that looks removable from below is often set in the masonry, and cutting it is a masonry job rather than a liner job.
What it costs
The installed range is $1,500 to $4,000, the same band as any stainless reline. The arithmetic is height-led: at $60 per foot, a 25-foot flue is $1,500; at $100 per foot, a 40-foot flue is $4,000. Insulation, a cap at $150 to $600, and any crown repair at $400 to $1,500 sit on top of that.
If the chimney also needs masonry work, the order is masonry first, then liner. A liner under a leaking crown gets water in the insulation and fails years early, and pulling a liner to fix a crown later doubles the labor.
Common mistakes
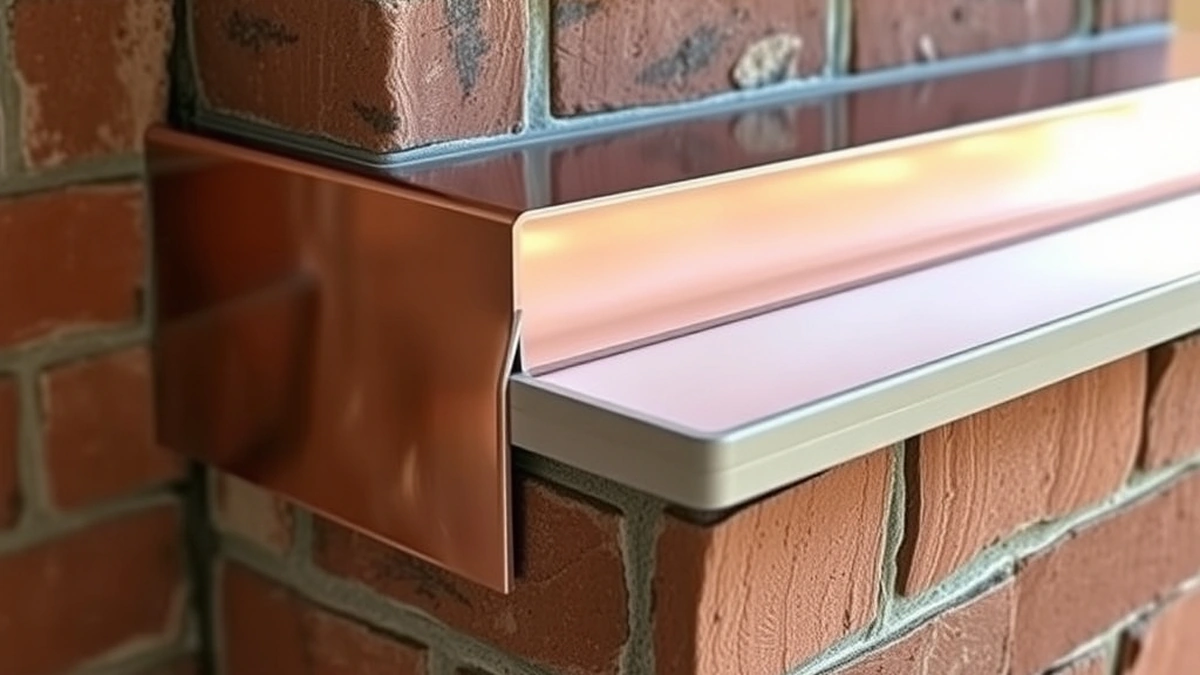
The most expensive mistake is a liner installed without a top plate, sealed only with a bead of silicone at the crown. Water gets in, the insulation saturates, and the liner corrodes from the outside in. The second is a stove connected with a short piece of single-wall pipe that passes through the old damper area without a proper adapter, leaving a gap that leaks smoke into the room.
The third is the wrong alloy for the fuel. Wood produces acidic condensate, and a liner specified for gas service will not last in a wood stove. The fourth is skipping the inspection after installation, which is how a loose top plate goes unnoticed for a season.
First fire and after
Run a small break-in fire first, both to cure any paint on the stove and to check that the draft is pulling in the right direction. Watch the top of the chimney: visible smoke that lingers means the flue is not drafting well, and the usual cause is a cold exterior chimney or a liner that is oversized for the appliance.
After that, the maintenance is ordinary. Sweep annually, or after each cord of wood, and check the cap and top plate at the same time. For the stove-side comparison, see chimney liner for wood stove and pellet stove chimney liner. For material choices, see stainless steel chimney liner. For the price, see stainless relining cost.
Frequently asked questions
Does a wood stove need a chimney liner?
Yes, if it vents into a masonry chimney. The liner gives the stove a continuous passage sized to its flue collar, protects the masonry from creosote and heat, and provides the draft the appliance was tested with.
What size liner does a wood stove need?
Match the stove's flue collar, which is 6 inches on most residential models and 8 inches on some larger ones. A liner smaller than the collar chokes the stove; a much larger one cools the exhaust and builds creosote.
Should the liner be insulated?
On an exterior chimney, yes. Insulation keeps flue gases above the condensation point, which improves draft and reduces creosote. It also reduces the clearance needed to combustibles.
Can I connect a stove to an existing clay flue?
Only if the tile is continuous, correctly sized, and in good condition. Many older flues are oversized for a modern stove, which causes weak draft and heavy creosote, so a liner is often the cheaper correct answer.
How long does the installation take?
Most single-story installations are done in a day. Two-story chimneys, offsets, and damper frames that have to be cut add a second day.
Does a liner improve stove performance?
It usually does, because a correctly sized insulated flue holds heat and strengthens draft. Owners commonly report easier lighting and less smoke spillage when the old flue was oversized.
Sources
Some links are affiliate links.If you buy through them we may earn a commission at no extra cost to you. We do not accept payment for rankings. Read the full disclosure.